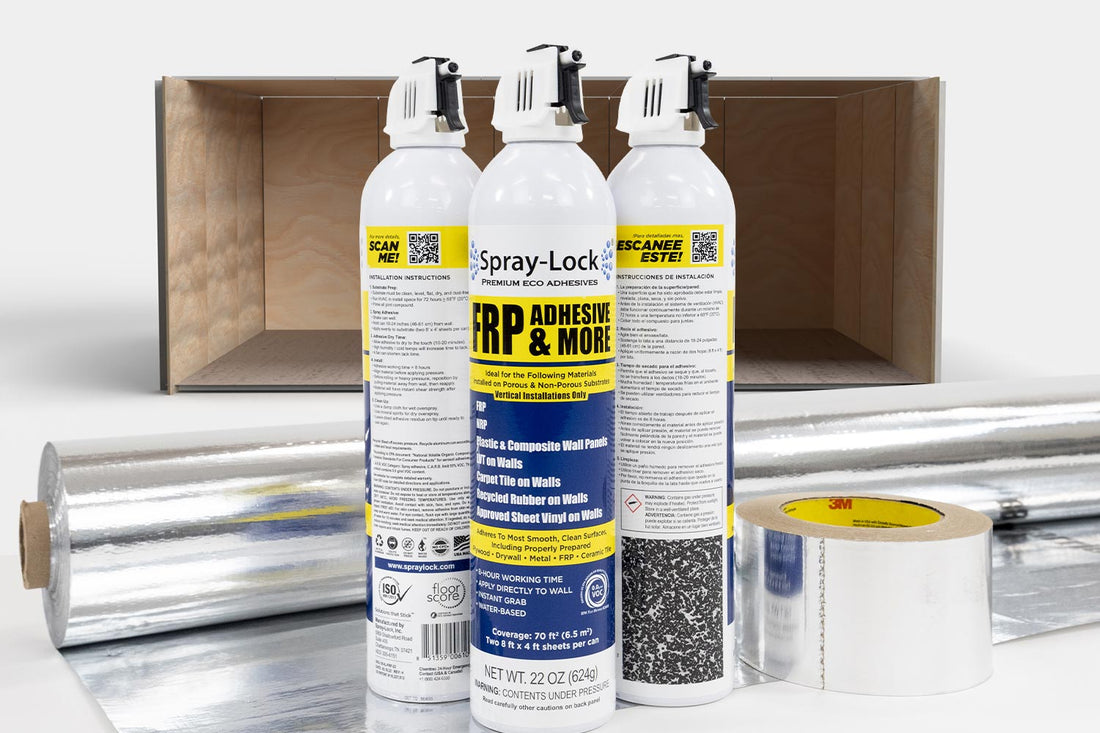
SCIF room installation has never been easier to do thanks to the addition of the revolutionary Spray-Lock FRP Spray Adhesive. With this product, you can install multiple sheets of Ultra NT SCIF Barrier to your room's walls, floors, and ceilings at a much faster rate.
Read below through our step-by-step guide on how to apply Spray-Lock FRP Adhesive to your SCIF room. Make sure to follow along with our how-to video shown above.

What You'll Need:
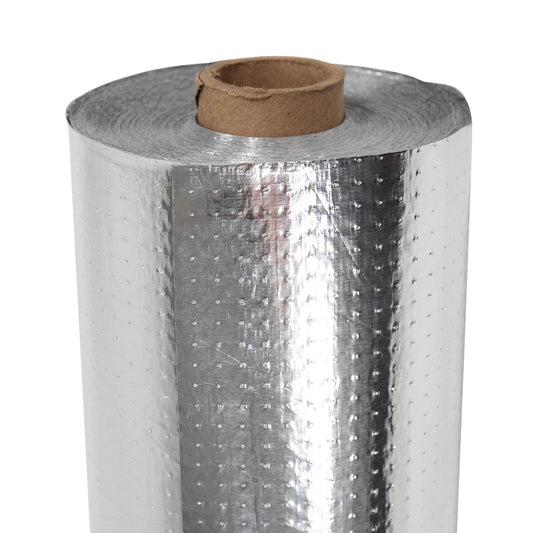
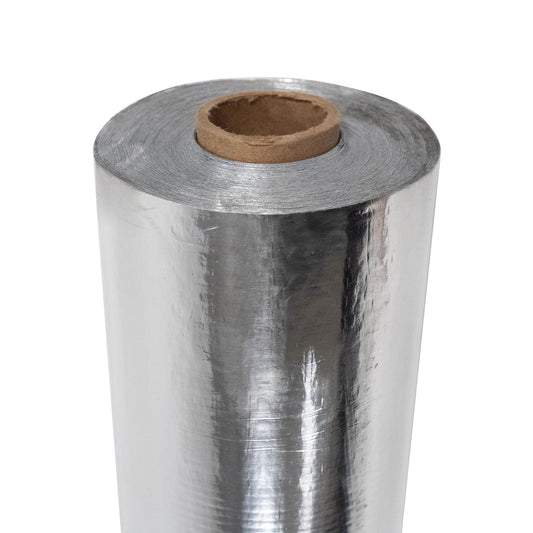
- Ultra NT SCIF Barrier
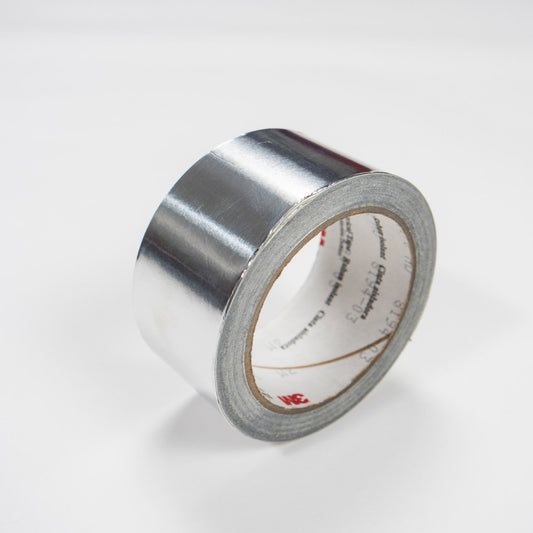
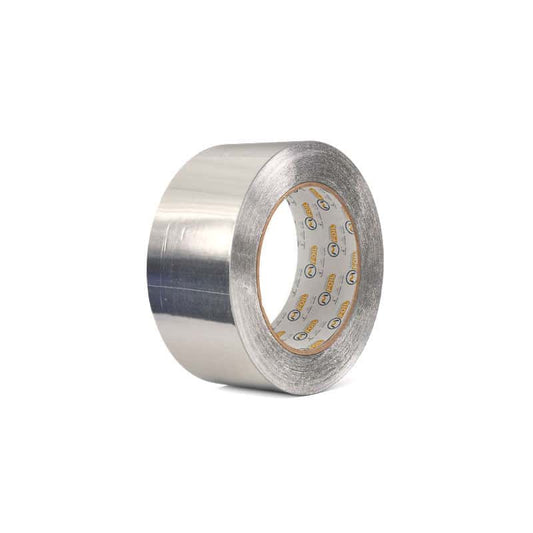
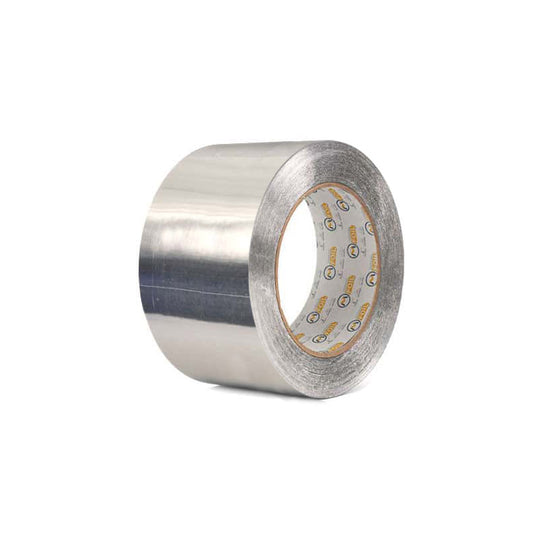
- Reflective Aluminum Foil SCIF Tape
- Spray-Lock Eco-Adhesive Spray
- Utility Knife
- Tape Measure
- Safety Glasses and Other Gear
- Damp Cloth
- Step Ladder
How To Install SCIF Barrier with Spray Adhesive

1. Measure Your Room
Before you begin, measure the height and width of the room or space you plan on installing your Ultra NT SCIF Barrier. Using your tape measure, take note of the measurements from your walls, floors, and ceilings. For SCIF rooms, it's ideal to cover all surfaces with Ultra NT SCIF Barrier for maximum protection and efficiency. Otherwise, you may inadvertently render the product ineffective at blocking RF signals.
After taking measurements of your installation space, the next step is to precut your SCIF roll into smaller sheets. With our SCIF barrier products measuring four feet wide, this process helps you plan out the amount of foil needed and makes for easier installation.
PRO TIP: When precutting your sheets of SCIF Barrier, make sure you allow an extra 2-3" to overlap the floor and ceiling.

2. Prepare Your Surface
Once the material is cut, then you'll want to prepare the surface for installation. One of the great benefits of Spray-Lock FRP Spray Adhesive is its ability to adhere to a number of different surfaces and substrates including plywood, drywall, fiberglass (FRP) panels, concrete, and metal.
Before spraying, test the condition of your surface by running your hand across it. If you see any dust or debris transfer over to your hand, then your surface isn't ready to be sprayed. Wipe a damp cloth over the surface of your substrate and test its condition once more. When you notice zero dust or debris transfer, then you know the surface is clean.
Make sure the surface is dry before installing the spray adhesive. If you cleaned the substrate down with a damp cloth, then let the surface dry for a few minutes. Use rotary fans to speed up the drying process before applying Spray-Lock FRP Adhesive to the substrate.


3. Spray the Walls
When the surface is clean and dry, then you're ready to spray! To use the Spray-Lock FRP Spray Adhesive, make sure you shake the can well enough before use and that you remove the plastic tab found on the top of the nozzle of the spray can.
Starting in the upper corner of the wall, pull the trigger of the nozzle and spray the surface of your substrate, moving the can back and forth in a smooth motion. Hold the can 18 to 24 inches away from the surface being sprayed for an optimal ratio of adhesive coverage to surface area. Use a spray shield such as a piece of cardboard to use on corners, floors, and ceilings to prevent overspray.
Unlike other spray adhesives on the market, there's no need to spray the back of the reflective foil insulation product for wall or floor applications. Once the surface is coated, including corners and edges, then allow the surface 10 to 20 minutes for the adhesive to tack, using rotary fans to expedite the process.
DID YOU KNOW: With Spray-Lock's longer working time, you can spray larger sections of surface and the adhesive will keep its tack, or retain its stickiness, for up to 8 hours. Compared to other spray adhesives on the market that have an average working time of 15 minutes, Spray-Lock allows you to spray an entire surface area and install all panels at once rather than having to spray and install panels in sections, repeating this process multiple times for the same amount of surface area.

4. Test Your Surface
Once the walls are all sprayed, then it's time to test the tack of the adhesive. To do this, run your hand across the surface of the adhesive-coated substrate. If any adhesive transfers to your hand, then wait a little longer for it to dry. Once the adhesive is dry and sticky, then the surface is ready for installing radiant barrier.

5. Installing SCIF Barrier
Start by positioning the SCIF material in the top corner, applying light pressure when installing the barrier. Go slowly and spread out from the starting point, making sure that you keep the material in place. If you feel that your SCIF barrier is off its mark and need to adjust it, repositioning the material is easy to do. Simply peel it away gently and reposition it as necessary.
WARNING: SCIF Barrier can peel off easily from the Spray-Lock-covered surface, so long as light pressure has been applied. Please be cautious in repositioning the SCIF material if more than light pressure has been applied to it.
Once the material is where you want it, then you can apply medium pressure or smooth over the barrier with a roller to remove any air gaps/wrinkles and directly bond the material to the substrate. Continue this process around the room, adhering SCIF barrier to your walls.
6. Prepare Ceiling Panels
After completing the walls, the next step is to install ceiling panels. Similar to before, measure and pre-cut your SCIF roll as necessary with your measuring tape and utility knife to prepare your sheets for installation. To save time, you could also do the same thing for your floor sheets.
- Check out other floor insulation options like Floor Joist and Under Slab reflective insulation.
For ceilings, the best method is to spray the back of the SCIF barrier sheets rather than the ceiling itself. This prevents the spray adhesive from dripping off the ceiling and allows it to tack more easily. Lay the ceiling sheets out and spray them all at once, allowing 10 to 20 minutes for the panels to dry. Test the dryness of the panels by lightly touching them until there is no adhesive transfer to your hand.

7. Install Ceiling Panels
Start with one SCIF barrier ceiling panel and position it in the top corner, applying light pressure along the edge for proper placement. Work your way across the ceilings similarly to the walls, applying medium pressure once the material is in the right spot. Reposition the Ultra NT SCIF Barrier as necessary.

8. Spray the Floor
The final placement of the Ultra NT SCIF Barrier is the floor. Start by sweeping and cleaning up this area before applying Spray-Lock Spray Adhesive to the surface. If you didn't prepare the floor sheets while pre-cutting your ceiling sheets, then it's best to get that done before spraying, as well.
Begin in a corner of the room and start spraying the floor, coating the surface evenly with the adhesive. After 10 to 20 minutes of drying, then the floor panels are ready to be installed. Position the barrier in the same corner you started in and work your way out from there, applying light pressure before you roll it into place.

9. Tape All Seams
After installing all SCIF barrier sheets to your room, then you need to seal them up using aluminum foil SCIF tape. EcoFoil offers two varieties of SCIF tape: a conductive adhesive option and a non-conductive adhesive option.
Be sure to refer to your architect's spec sheets to find the tape that meets your project's needs. The SCIF tape seals shut any seams to create a complete barrier to RF signals and electronic surveillance, as well as an effective vapor barrier. Start along the sides and corners of the room where SCIF barrier is present and place the SCIF tape along the seams, working your way across the material.

10. Finish Your Flooring
Lastly, Spray-Lock Spray Adhesive can be used to complete your flooring. For any space that wants to install carpet tile, luxury vinyl flooring, LBT, etc., Spray-Lock works to keep these squares in place. Spray the surface of your newly installed SCIF barrier on the floor and wait 10 to 20 minutes for the adhesive to tack. Once it's ready, then you can start installing the flooring in sections.
Frequently Asked Questions
Q. What is a SCIF?
A. SCIF is an acronym that stands for Sensitive Compartmentalized Information Facility. These are places where highly sensitive information is stored and discussed. Ultra NT SCIF Barrier is engineered to block RF interference and surveillance from entering or exiting these rooms. Primarily used by military, government, and corporate entities, these accredited facilities require installation of SCIF Barrier for maximum protection from outside threats.
Q. How should I dispose my empty Spray-Lock Spray Adhesive cans?
A. Spray-Lock FRP Spray Adhesive cans are 100% recyclable. Once your install is complete, you can recycle these aerosol cans instead of throwing them away.
Q: Where can I store Spray-Lock Spray Adhesive cans?
A: Because these cans are made of a water-based acrylic blend, they should be stored at room temperature (68-74°F) for proper storage, especially 24 hours before use.
Q: Can I use FRP Spray Adhesive for other reflective insulation applications?
A: Of course! Besides Ultra NT SCIF Barrier, FRP Spray Adhesive also works for other reflective insulation products that have a solid foil face.
NOTE: We do not encourage the use of this spray with any perforated products, including Perforated Radiant Barrier, as it would prevent proper airflow that these products are designed for.
To learn more about SCIF room installation or have questions about our SCIF barrier products, contact our experts today by email or calling (888) 349-3645.