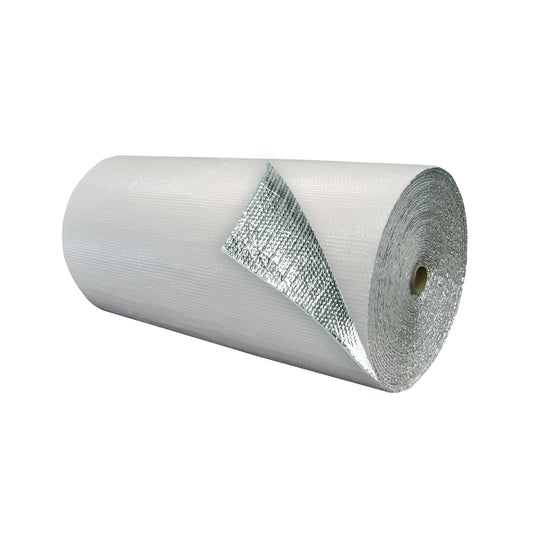
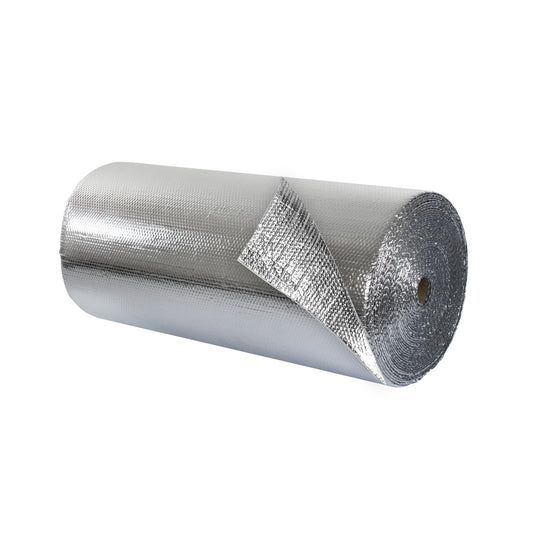
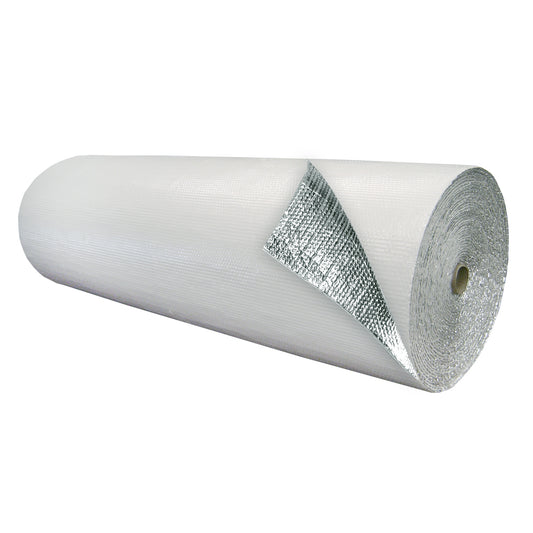
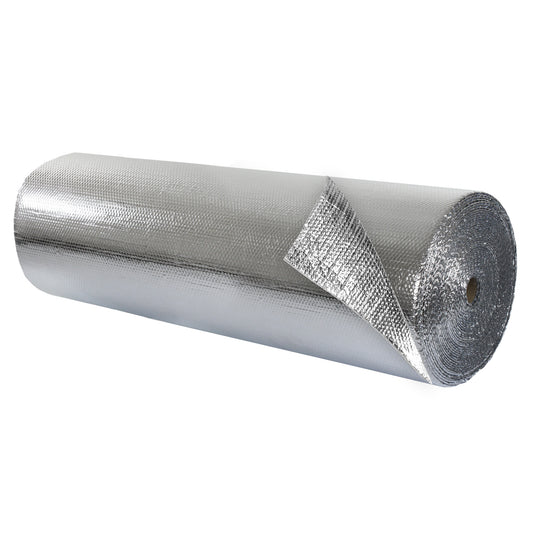
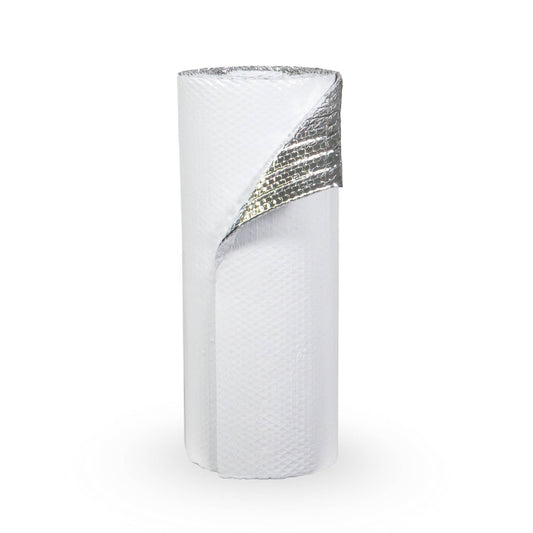
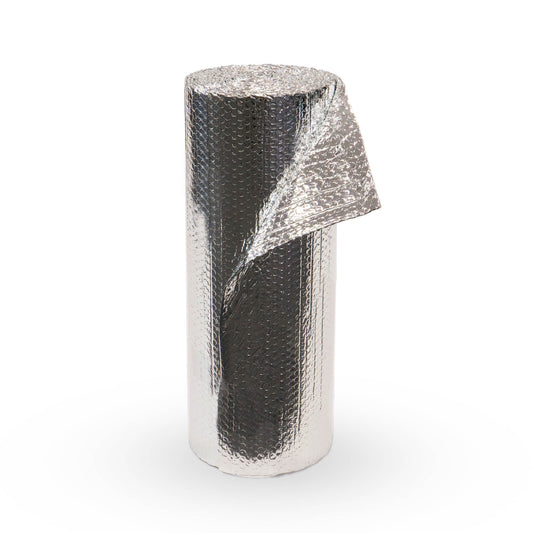
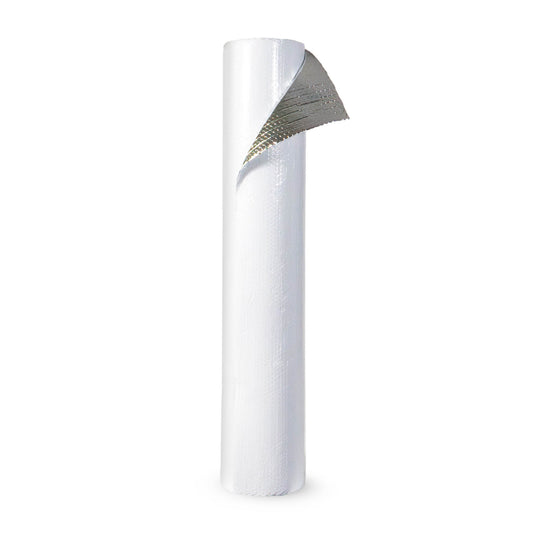
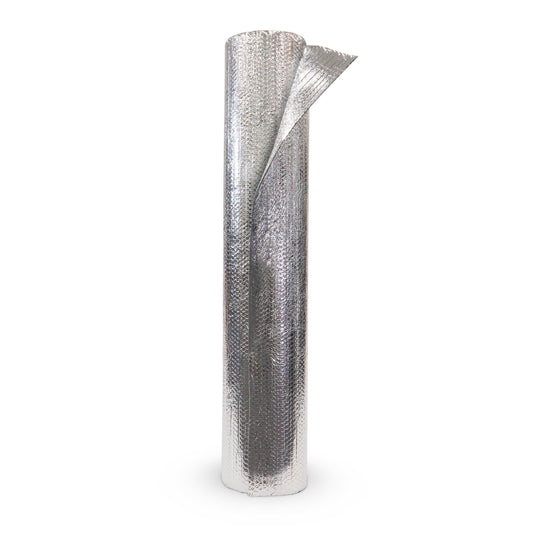
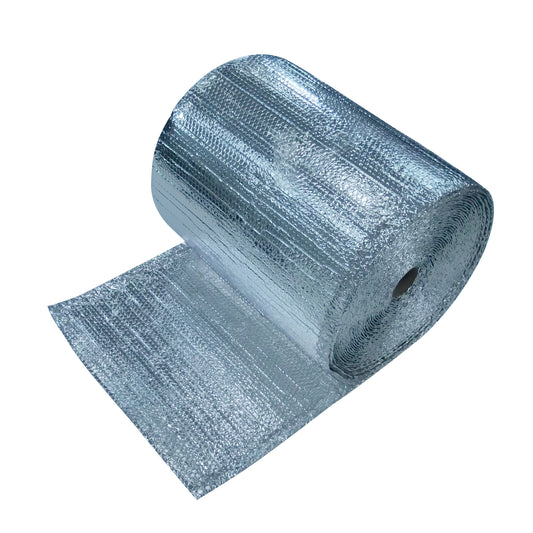
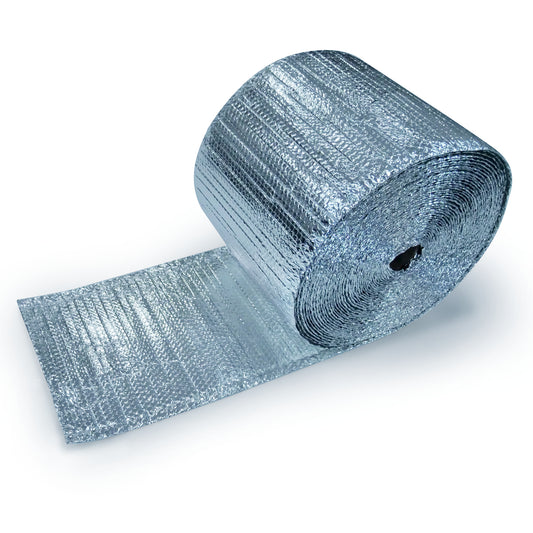
EcoFoil® radiant barrier and reflective insulation are both easy-to-use, eco-friendly insulation options for your next big project. Whether it be for your home, garage, RV, or greenhouse, these products can be installed in virtually any interior application where an air gap is present.
We outlined a guide that will help you with how to apply our insulation products and some helpful tips that will get you the most out of your foil insulation.

Applying EcoFoil® Reflective Insulation
-
Find Where To Install
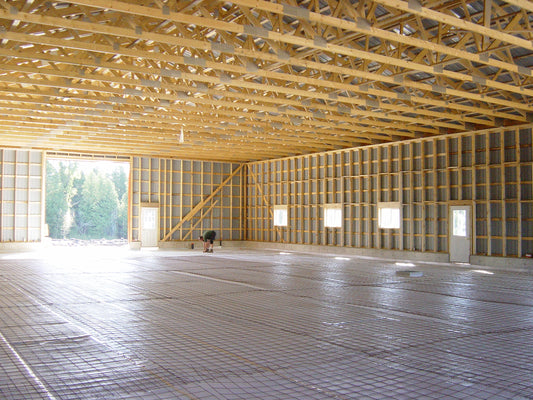
The first thing to take into consideration when installing radiant barriers or reflective insulation is to determine where you want it installed. Since these products can virtually be applied anywhere, the list of installation options is quite long. Decide which areas you'd want this insulation to be applied, and make sure you are buying enough quantity for the surface area you're looking to cover.
-
Cut Insulation to Size
When it comes to installing the product, we always recommend pre-measuring and pre-cutting the material before taking it into the area where it will be installed. While both radiant barriers and reflective insulations are durable products that will not easily tear, they cut easily with a pair of scissors or a sharp utility knife. You can cut the foil to whatever shape or size you need in order to fit the area you're insulating.
-
Attach Insulation
When it comes to attaching the product to either wood or metal, it is important to use a mechanically fastened joint to ensure the product stays in place over the long haul. Simply put, in wood, we recommend staples and in metal, we would recommend using a self-tapping screw.
-
Tape Insulation
The final step in installation would be to tape over each seam with EcoFoil® Insulation Tape. The only product we do not recommend taping is our Perforated Radiant Barrier, as it has tiny holes punctured in it which allow it to breathe. This is because damp air created in your home, due to washing clothes, bathing, running the dishwasher, etc. travels upwards and must be able to pass through the radiant barrier to escape your attic. If a Solid Radiant Barrier were used in this location, it would trap the moisture in the air and condensate resulting in water droplets which would drip onto your insulation/attic floor and rafters causing damage.

Helpful Tips
Knowing that there is not much to installing Ecofoil® products, many customers choose to install it by themselves with the help of friends or family members. If this is the method chosen, the only expenses for installation would be purchasing the materials above, if they are not already laying around the garage somewhere.
Of course, each application has a different installation method associated with it. If an air gap is maintained on one side of the Ecofoil® product, it will work how it is intended to. This air space does not need to be several inches on one side; even an air space of ¼” will suffice.
Our best advice is to keep the installation easy. All you need is scissors, a staple gun or a drill with self-tapping screws. If you do not feel comfortable installing the product, inquire with a local handyman or contractor.
More Articles You May Like:
Does Reflective Insulation Have R-Value?
Combining Fiberglass and Bubble Insulation in a Wall
How to Properly Insulate an Attic (4 Easy Steps)
What are Yurts?: How to Insulate
Our team of experts are just a phone call and email away! Reach out by calling (888) 349-3645 or send us an e-mail.