Properly insulating your attic is essential for running an energy-efficient home. If your attic isn't insulated properly, chances are:
- You're experiencing cold spots in certain areas of your home
- You're seeing a buildup of ice dams on your roof and in your gutters
- You're missing out on hundreds of dollars in annual savings on your energy bill
If you're looking to address any of these issues, the secret is to combine traditional insulation with a radiant barrier. Installing a radiant barrier on top of your traditional insulation will provide your attic with an effective 1-2 punch that keeps your home cooler in the summer and warmer in the winter, all while saving money on energy bills. Insulating your attic is a relatively simple process that most do-it-yourselfers can do in a weekend. Plus, many utility companies will even offer rebates for installing radiant barrier, which may offset your install costs altogether and save you money on energy bills.
Step 1: Assess the status of your attic insulation
Take a peek in your attic to see if your attic is already partially insulated. If it is, you'll most likely see spray foam insulation or the more traditional "fluffy" fiberglass insulation.
Spray foam example:


If your attic has no insulation whatsoever, it's time to get to work. Before you start you need to ask yourself two questions:
- What R-value does my first layer of insulation need? This question is a relatively easy question to answer because your local building codes require a certain R value for attics. It is always important to make sure you are aware of all current codes for your area.
- What type of insulation am I going to use? The second question is a matter of choice. There are two types of traditional insulation you can use:
Batt Insulation is much easier to install, and it requires no special training to know how to install insulation in attic.
Step 2: If necessary, install your first layer of attic insulation
Before you do start your insulation project, make sure you are wearing the proper safety equipment, especially when working with fiberglass insulation. Fiberglass insulation, also known as glass wool, is made from tiny fibers of glass, which can damage your skin, eyes, and lungs. Always wear gloves, long sleeves, safety glasses, and a dust mask to avoid potential health hazards, or hire a professional to install your insulation for you. It helps to create a walkway and work space with boards so that you don’t step onto and fall through the ceiling below you. It’s also a good idea before you begin to consult an electrician and eliminate any electrical hazards.
Step 3: Install the radiant barrier foil on top of your first layer of insulation
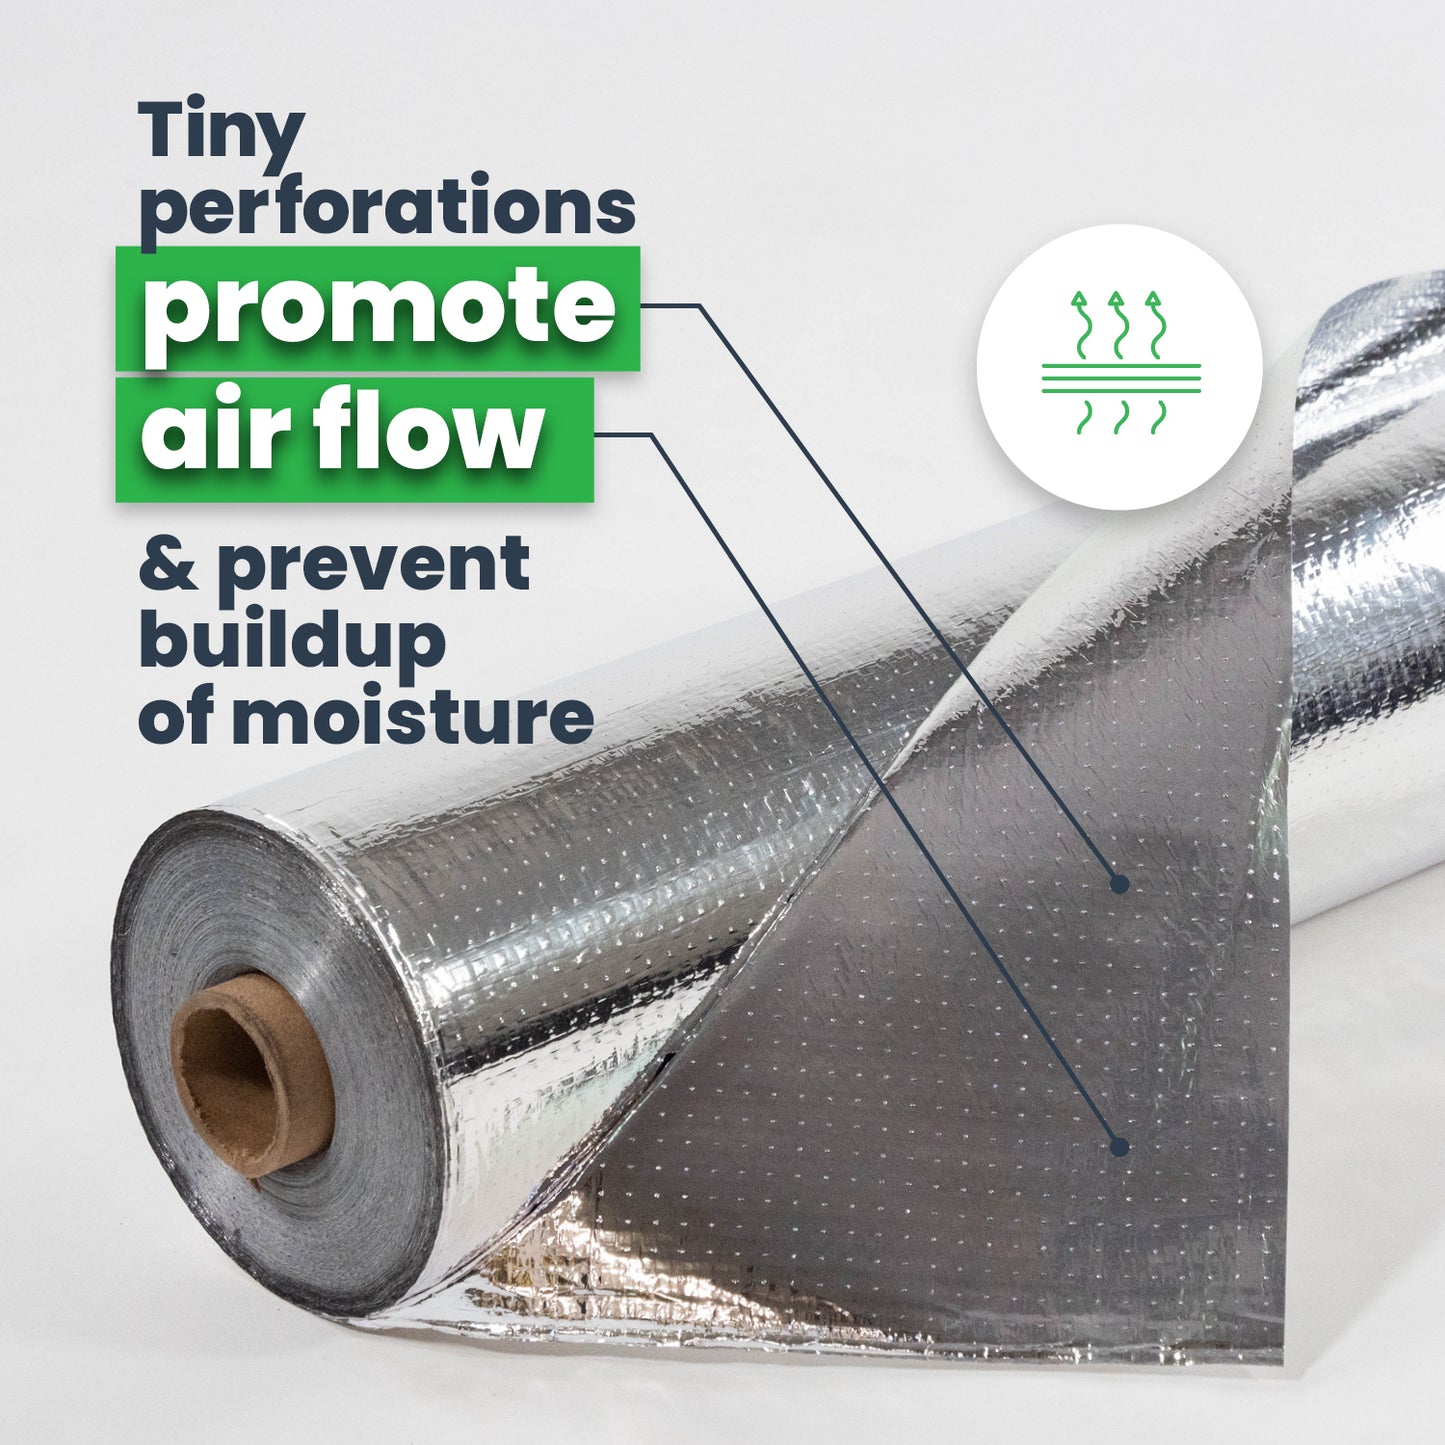
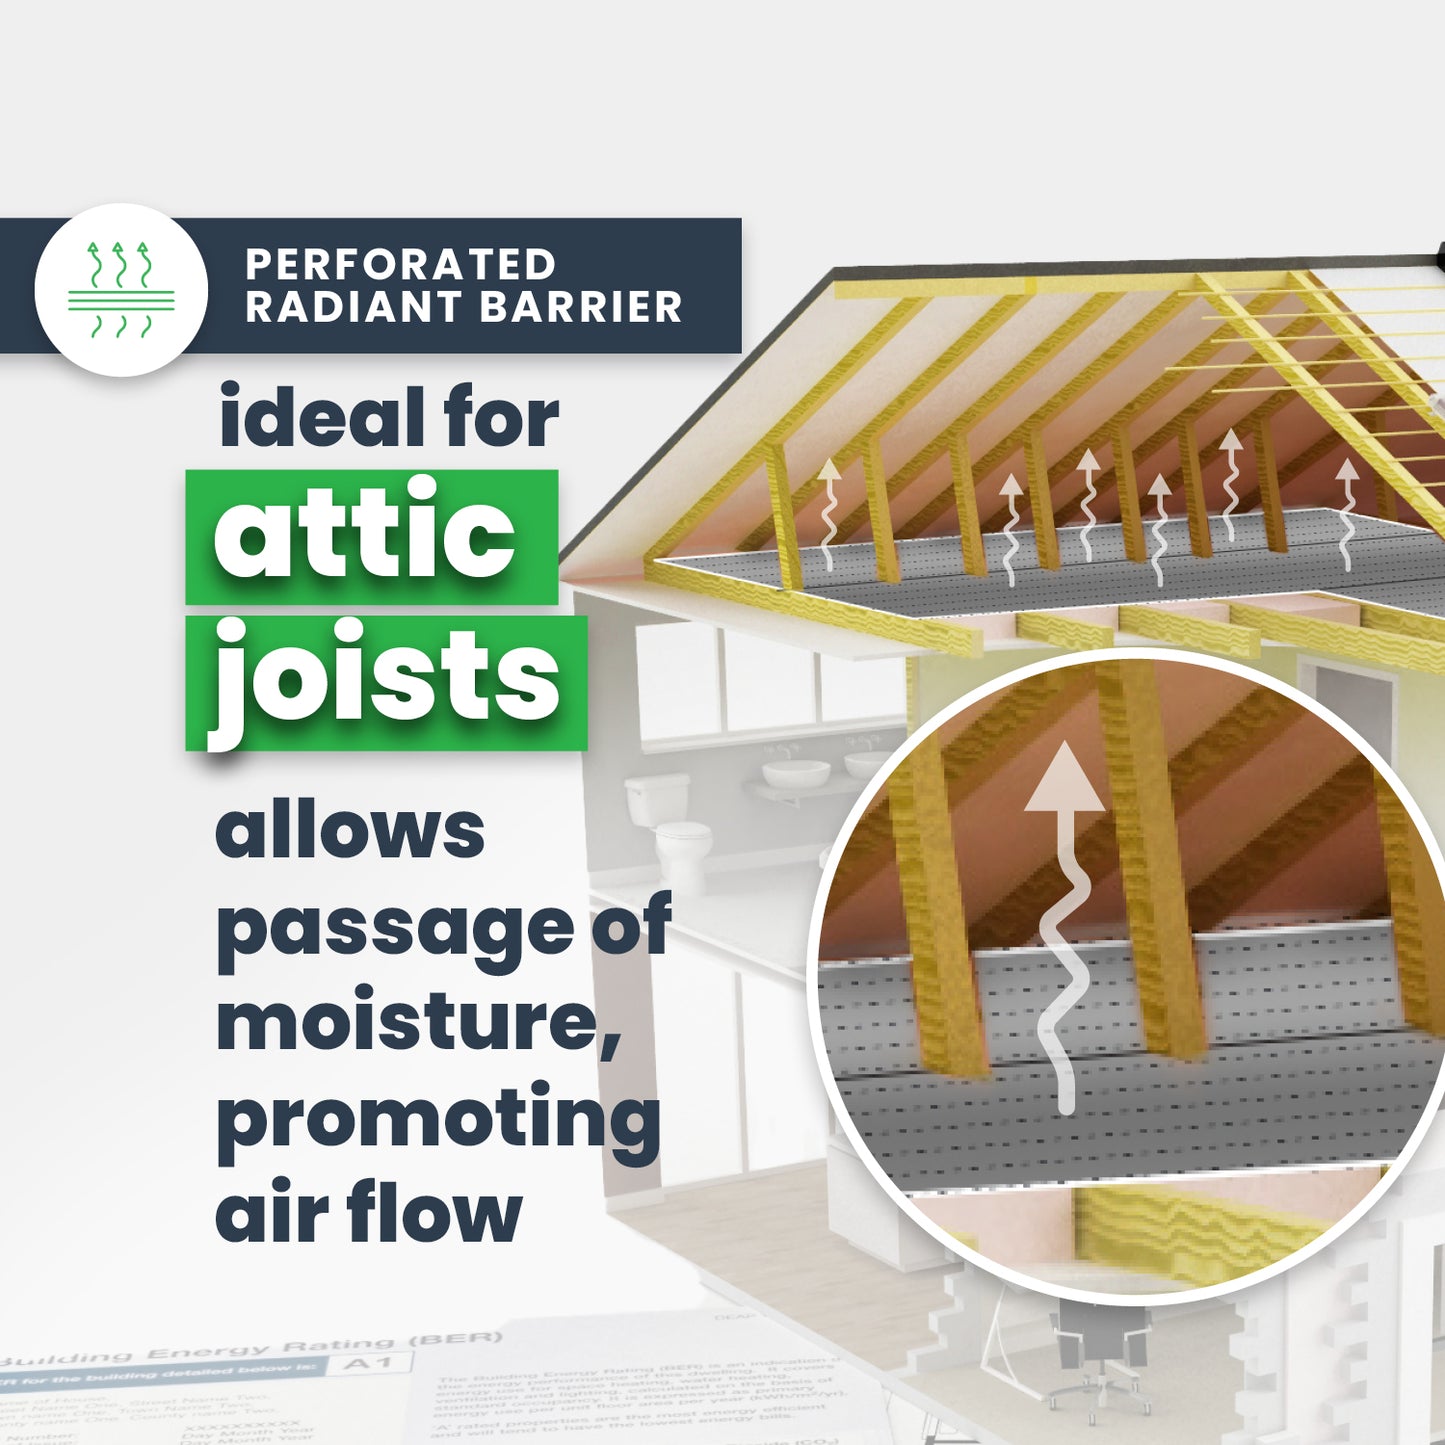
Once you have positioned your insulation, it's time to install your radiant barrier. When installing radiant barrier in your attic, make sure to use perforated products that allow condensation to pass through, preventing buildup of mold and mildew in your first layer of insulation. Because of this "breathability" in perforated products, we do not recommend using tape to seal the seams when installing perforated radiant barrier in your attic, as tape could trap moisture and lead to mold or mildew.
Radiant barrier installation can be installed directly on top of your first layer of insulation (on the floor of your attic) or in the rafters (on the ceiling of your attic). In some situations, you will want to install radiant barrier in both locations.
Installing radiant barrier in warm/hot climates
Radiant barriers excel at radiating heat back to its source, and if you live in a climate that is warm/hot, most of the time you will want to install the barrier on your rafters (on the ceiling). This blocks heat from entering your home through your roof, reflecting the heat back towards its source. Using a staple gun, staple the radiant barrier directly to the rafters, allowing a 1–2" overlap between sections.
Installing radiant barrier in moderate/cold climates
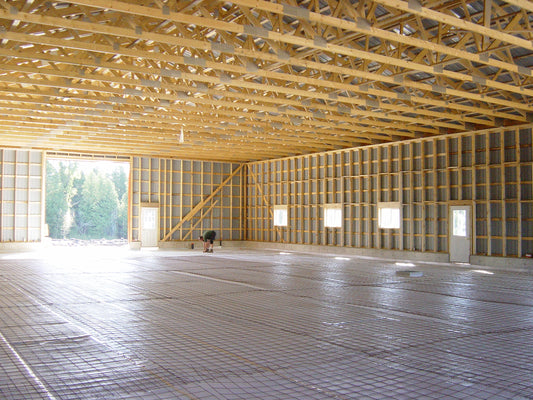
If you live in a cold climate, you will want to trap heat inside your home. You can achieve this by rolling the barrier across the floor of your attic, on top of your first layer of insulation. If your insulation doesn't completely protrude above your floor joists, you can use a staple gun to keep the product in place, although this is not necessary.
However, a large portion of the US experiences both.
Don't forget to insulate any duct work that may be present in the attic, which is a common practice in homes without basements or crawl spaces.
Step 4: insulate your attic opening
If you enter your attic through a set of folding stairs you can use an attic stair insulator to insulate the opening. If you have a simple door or small entrance you can affix a piece of insulation to the attic side of the door. Sealing this entry way will add a final layer of protection and help keep the air in your home separate from the air in your attic, allowing your insulation and radiant barrier to work its magic.
Final Thoughts on How To Install Insulation in an Attic
Now that you know how to insulate an attic you can feel good that you made your home more comfortable and more efficient, and at the same lowered your energy bills for years to come.
For questions on our products or installation techniques, contact our friendly product specialists at (888) 349-3645. Our team is available every weekday 7am–5pm CT to help answer any questions you may have about your particular application.