Save money on energy bills by insulating your garage door
Insulating your garage door is a low-cost solution that takes little time to install and can have a wide array of benefits to you and your home.
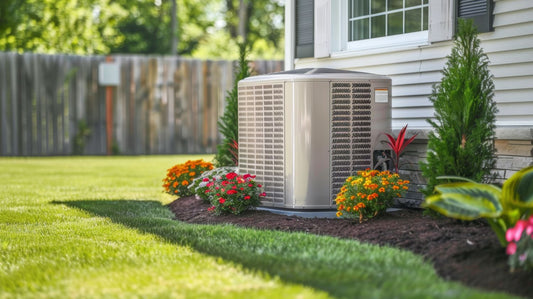
If you have an attached garage, an uninsulated garage door can be a huge culprit for energy loss in your home. The doors of a garage make up an entire wall, and without proper insulation, radiant heat can cause the air inside to rise and kick your air conditioning into overdrive. The same rules apply even if your garage isn't attached.
Insulating your door with reflective insulation is a quick and easy DIY solution that cuts down on your energy costs, reduces noise, and maintains the inside temperature much better. You don't need any special tools or training to keep your garage cool in the summer. To make things easier, we've narrowed the installation process down to 4 easy steps for you to follow.
Garage Door Insulation Materials Needed:
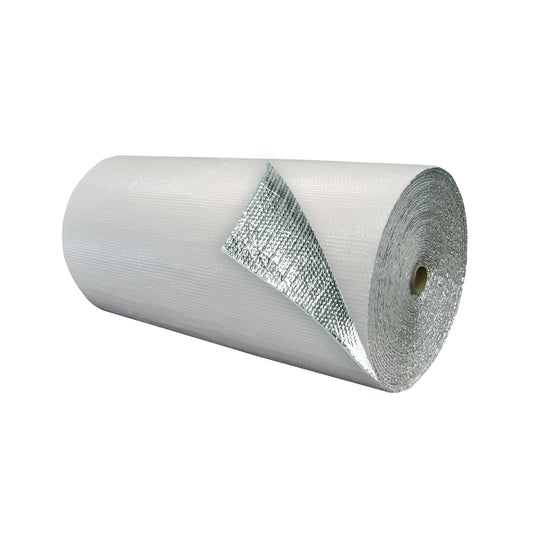
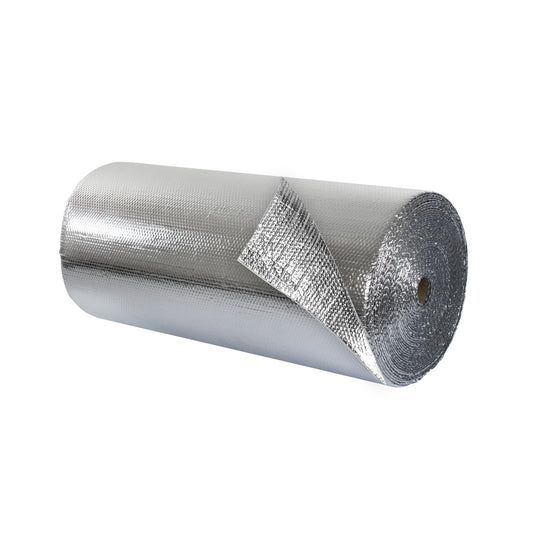
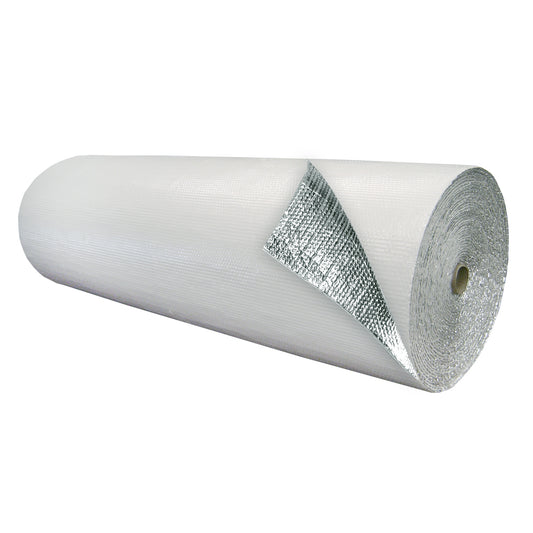
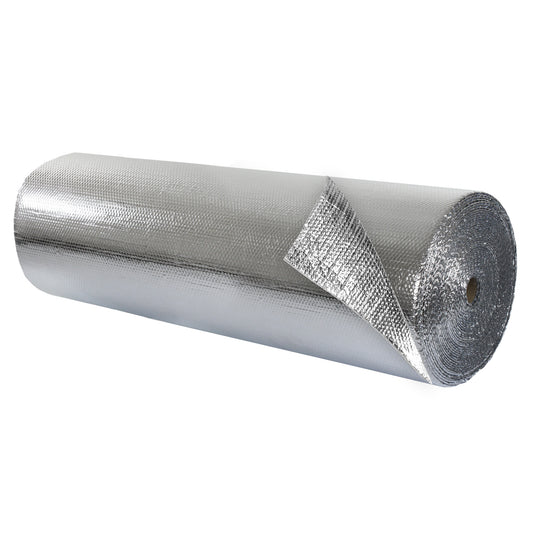
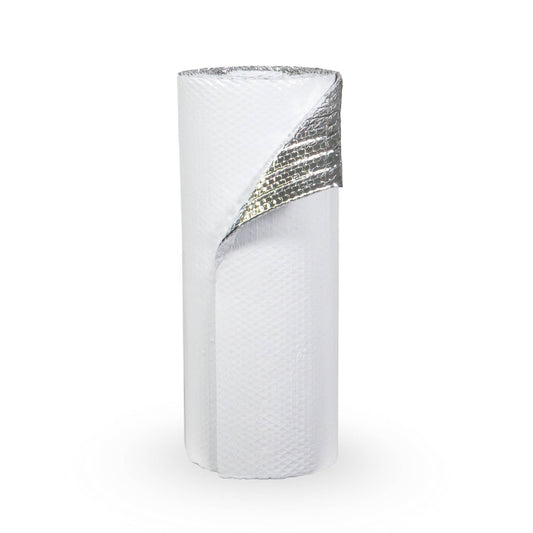
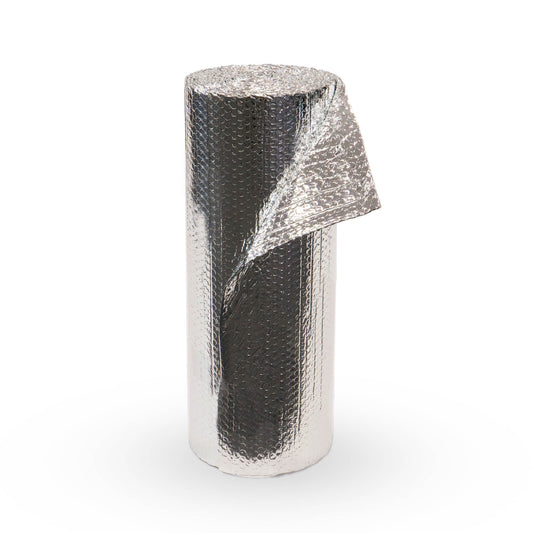
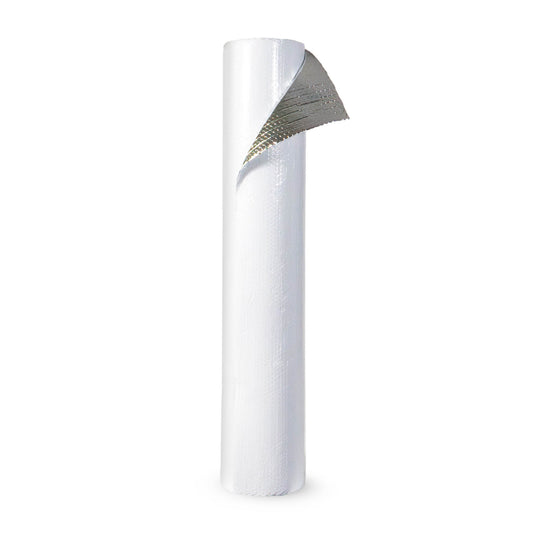
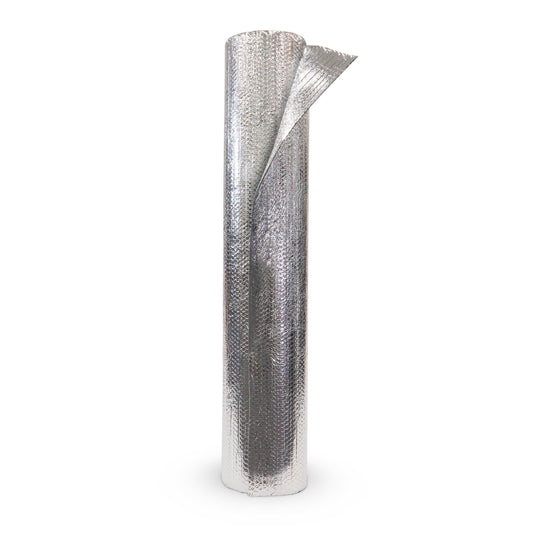
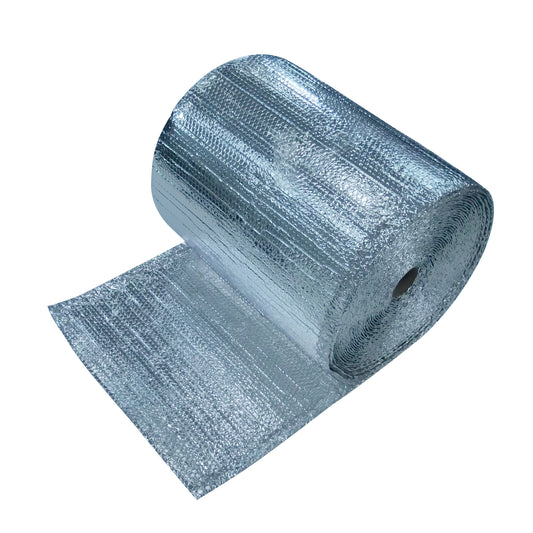
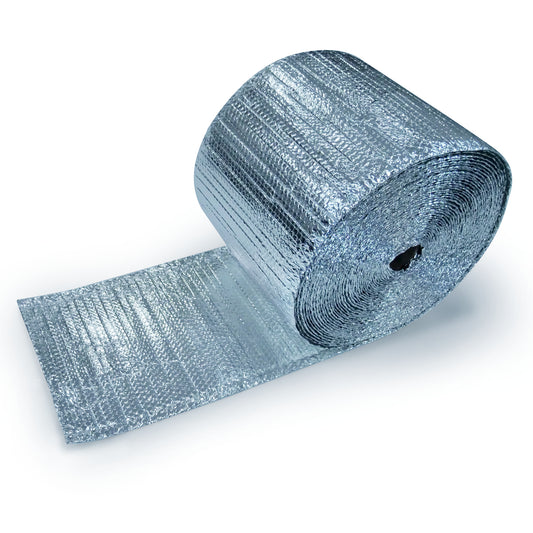
- 1 roll of EcoFoil® Reflective Foil Insulation
- 1 case of Spray-Lock Multi-Purpose Spray Adhesive
- Utility Knife
- Tape Measure
- Safety Gear (gloves, eye goggles, face mask)
- Assistance (grab your neighbor!)
How to Insulate Your Garage Door
Step 1: Prepare the Surface
Wipe the interior of you garage door with a damp cloth, ensuring it's clean and dry. Once dry, spray an even coat of spray adhesive, covering all corners. Wait 10-15 minutes for the adhesive to dry. To test the surface, run your hand across your sprayed surface. If any adhesive transfers to your hand, wait a bit longer. If no adhesive transfers, you're ready to apply the garage door insulation.
Tip: use a rotary fan to reduce the time it takes for the adhesive to dry.
Step 2: Applying the Insulation
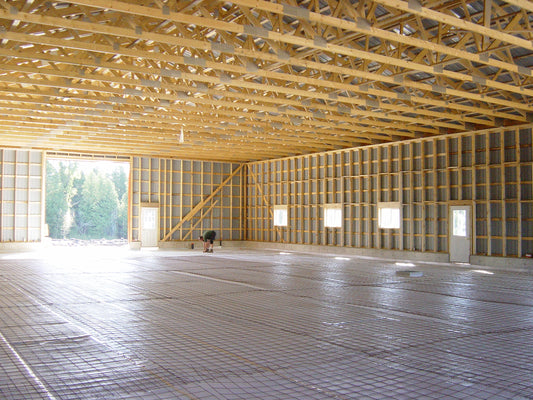
Roll the reflective foil insulation horizontally across the door, applying light pressure to adhere the material to your newly-sprayed surface. Be sure to keep the reflective insulation tight as you unroll. It's a good idea to enlist the help of a friend or family member to help with this stage.
Once you have reached the edge of the door cut the insulation with a utility knife. As always use extreme caution when working with knives.
Tip: Use pre-cut 16" or 24" insulation, depending on the size of your garage door panels. If your doors don't match this size, use 48" insulation rolls and manually trim to size.
Step 3: Trim
Trim around door hinges and cut insulation to create a seam where the door panels meet. This will keep the insulation from buckling while the door is in operation.
Step 4: Repeat
Repeat the previous three steps on the top half of the door. (If you're doing more than one door, make sure to stock up on enough reflective foil insulation and spray adhesive to cover your garage doors.)
Insulating your garage door is as easy as that! Now that you know how install garage door insulation you can make your garage a space that is more comfortable and efficient.