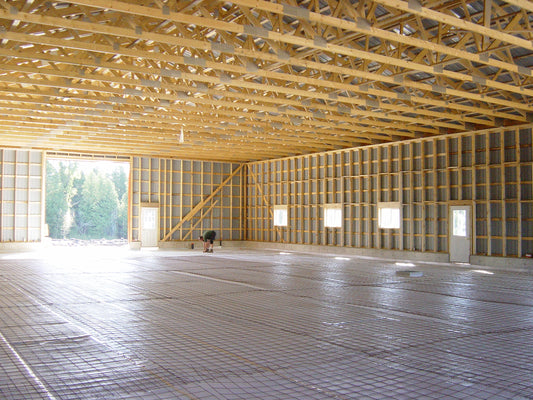
Cathedral ceilings, a type of vaulted ceiling, are a great way for your home to make a statement. It offers more open air space in your home, making it appear much larger than it would with having an attic. With an eye-catching design resembling the namesake's architecture, this style of ceiling has caught on with many homeowners around the world.
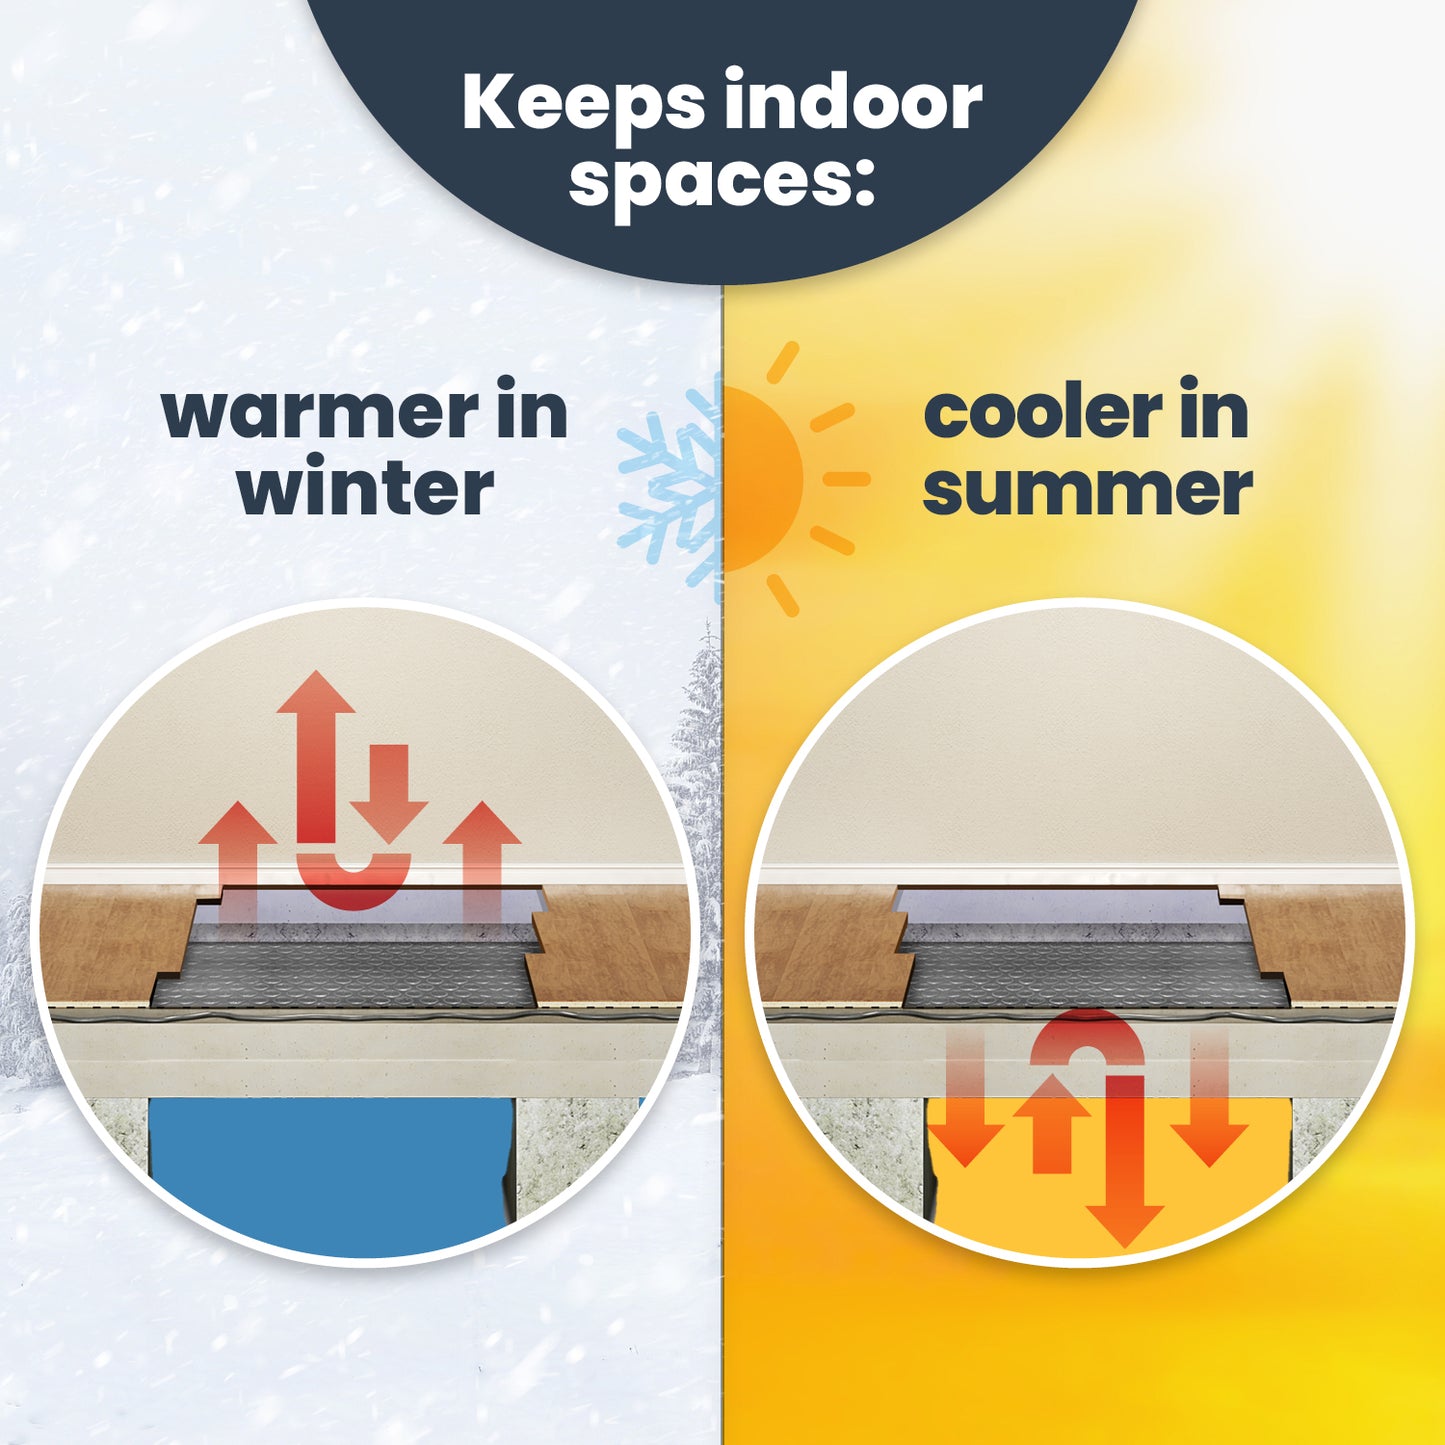
But because cathedral ceilings take up the space that would be traditionally used by an attic, there is little room for insulation and makes the rest of your home space susceptible to radiant heat transfer. Ceiling insulation is important for any home, but never more so than for a home with vaulted ceilings.
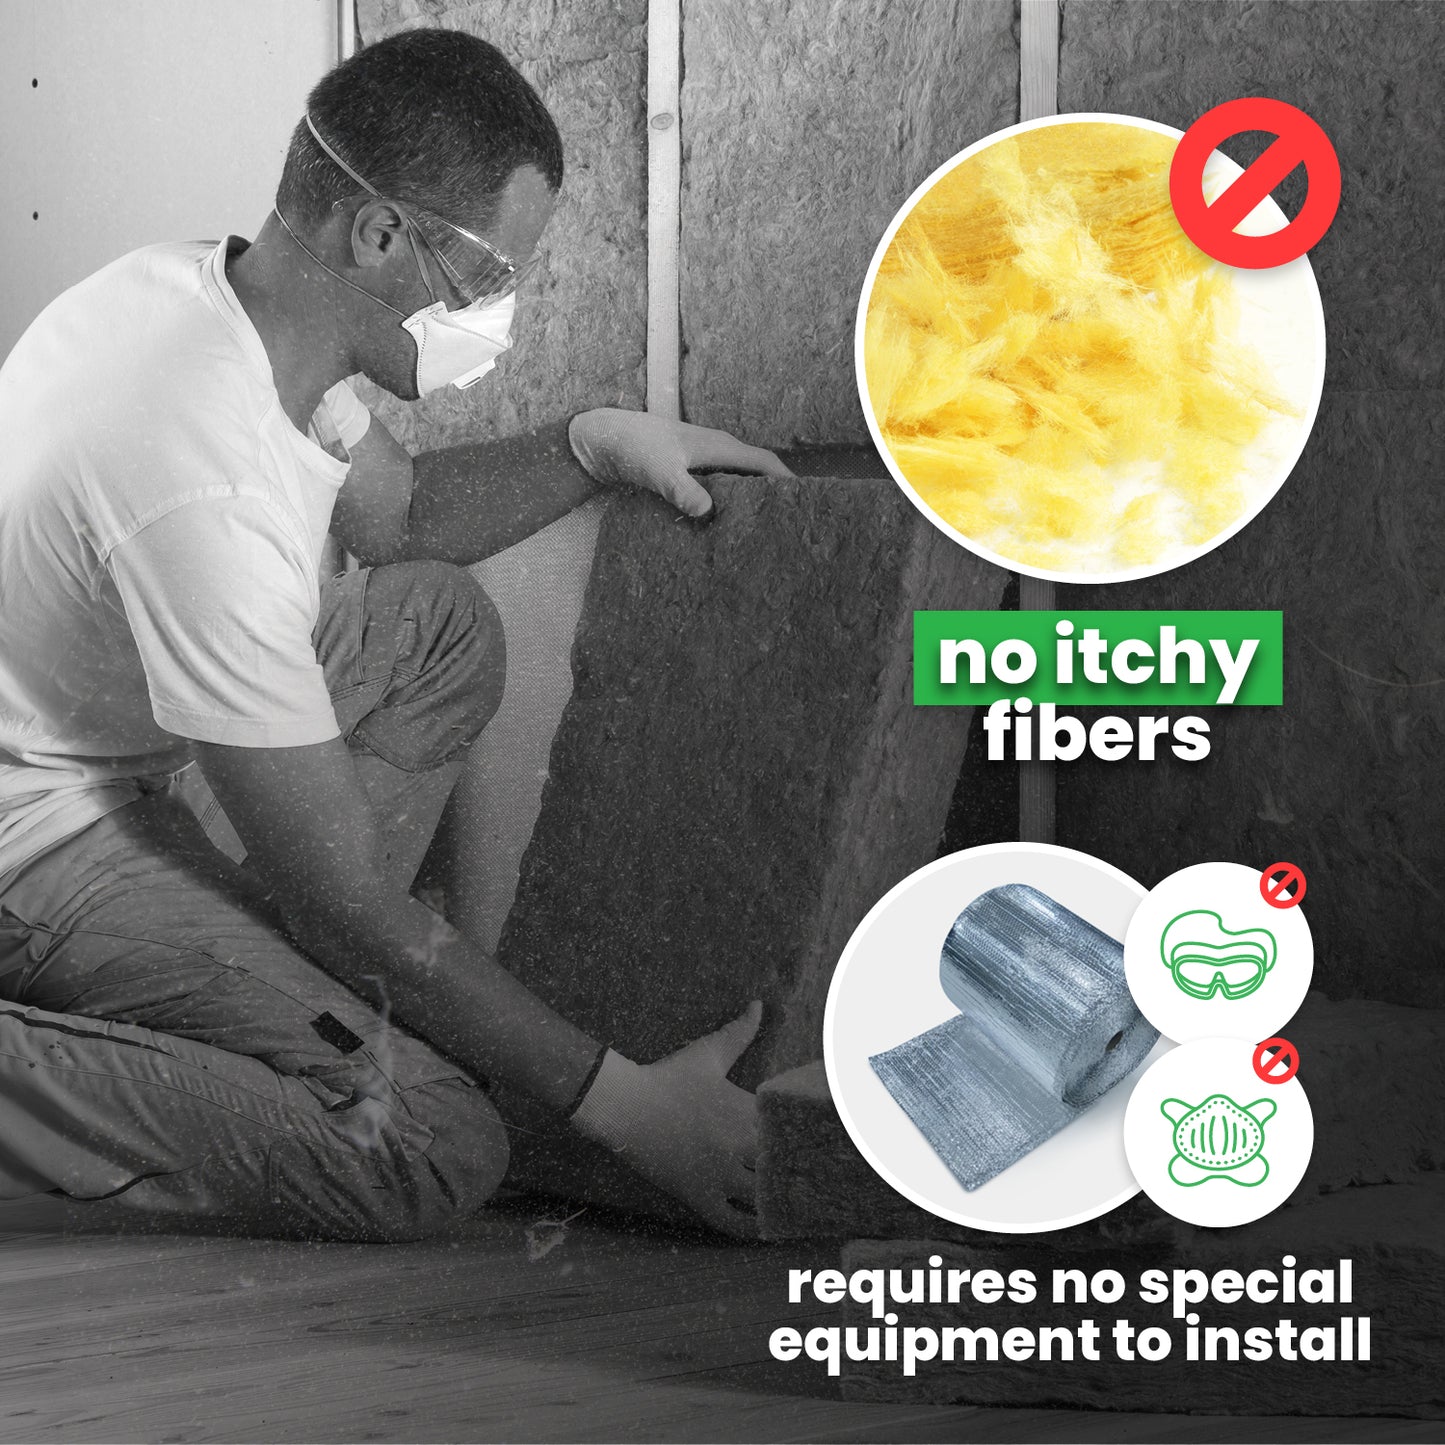
Using radiant barrier insulation with fiberglass insulation will create the perfect barrier for intrusive heat. We lay out our how-to guide on what you'll need to install this in your cathedral ceiling.
Using Radiant Barrier and Fiberglass Insulation
Cathedral ceilings can be difficult to insulate and it is important that it is done properly because once the space below is finished you have no access to the insulation. Combining fiberglass batts and reflective insulation is an effective way to combat all three modes of heat transfer: conductive, convective, and radiant.
As with any building project, it is important to check local building codes for compliance before installation. Before you begin make sure that you seal any leaks to the outside that may occur around fixtures such as bath fans or plumbing vents.
How to Insulate a Cathedral Ceiling

-
Install Insulation Baffles
The first step in installing insulation in a cathedral ceiling is to add insulation baffles between the studs. This is very important because it allows air to circulate above the insulation, thus preventing problems with condensation or mold. The rule of thumb for the number of insulation baffles you'll need is one for every 150-square feet.
-
Install Insulation
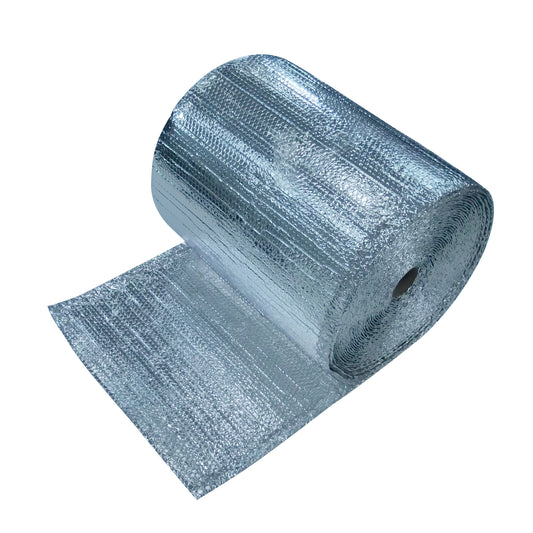
EcoFoil® products are perfect for insulating your cathedral ceiling. You can choose whether or not you prefer to install between joist insulation or under joist insulation. Before applying these products, you'll want to make sure you have the unfaced mass insulation installed between the ceiling joists:
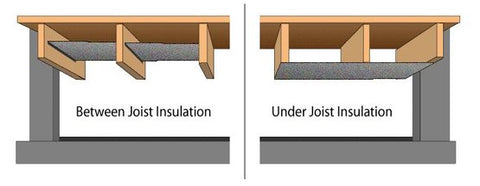
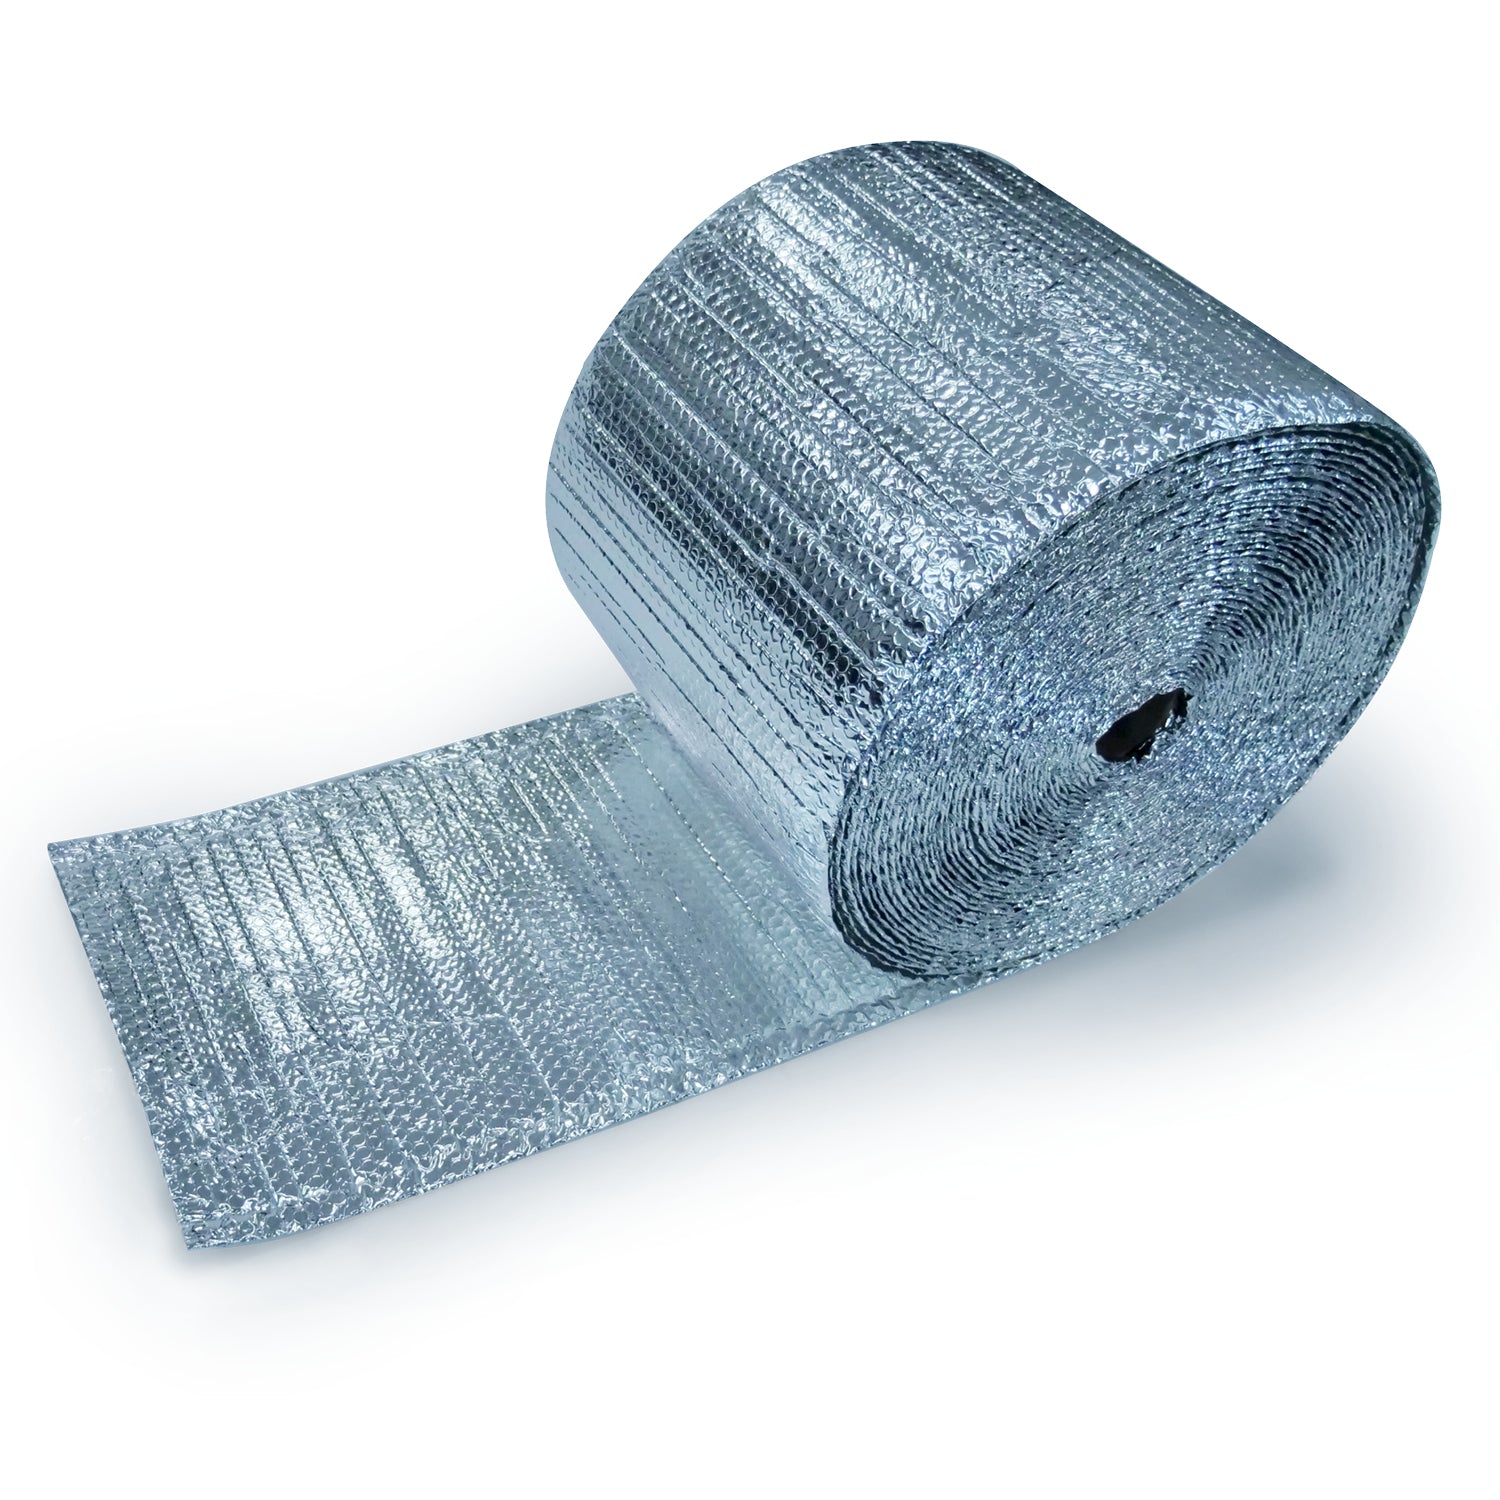
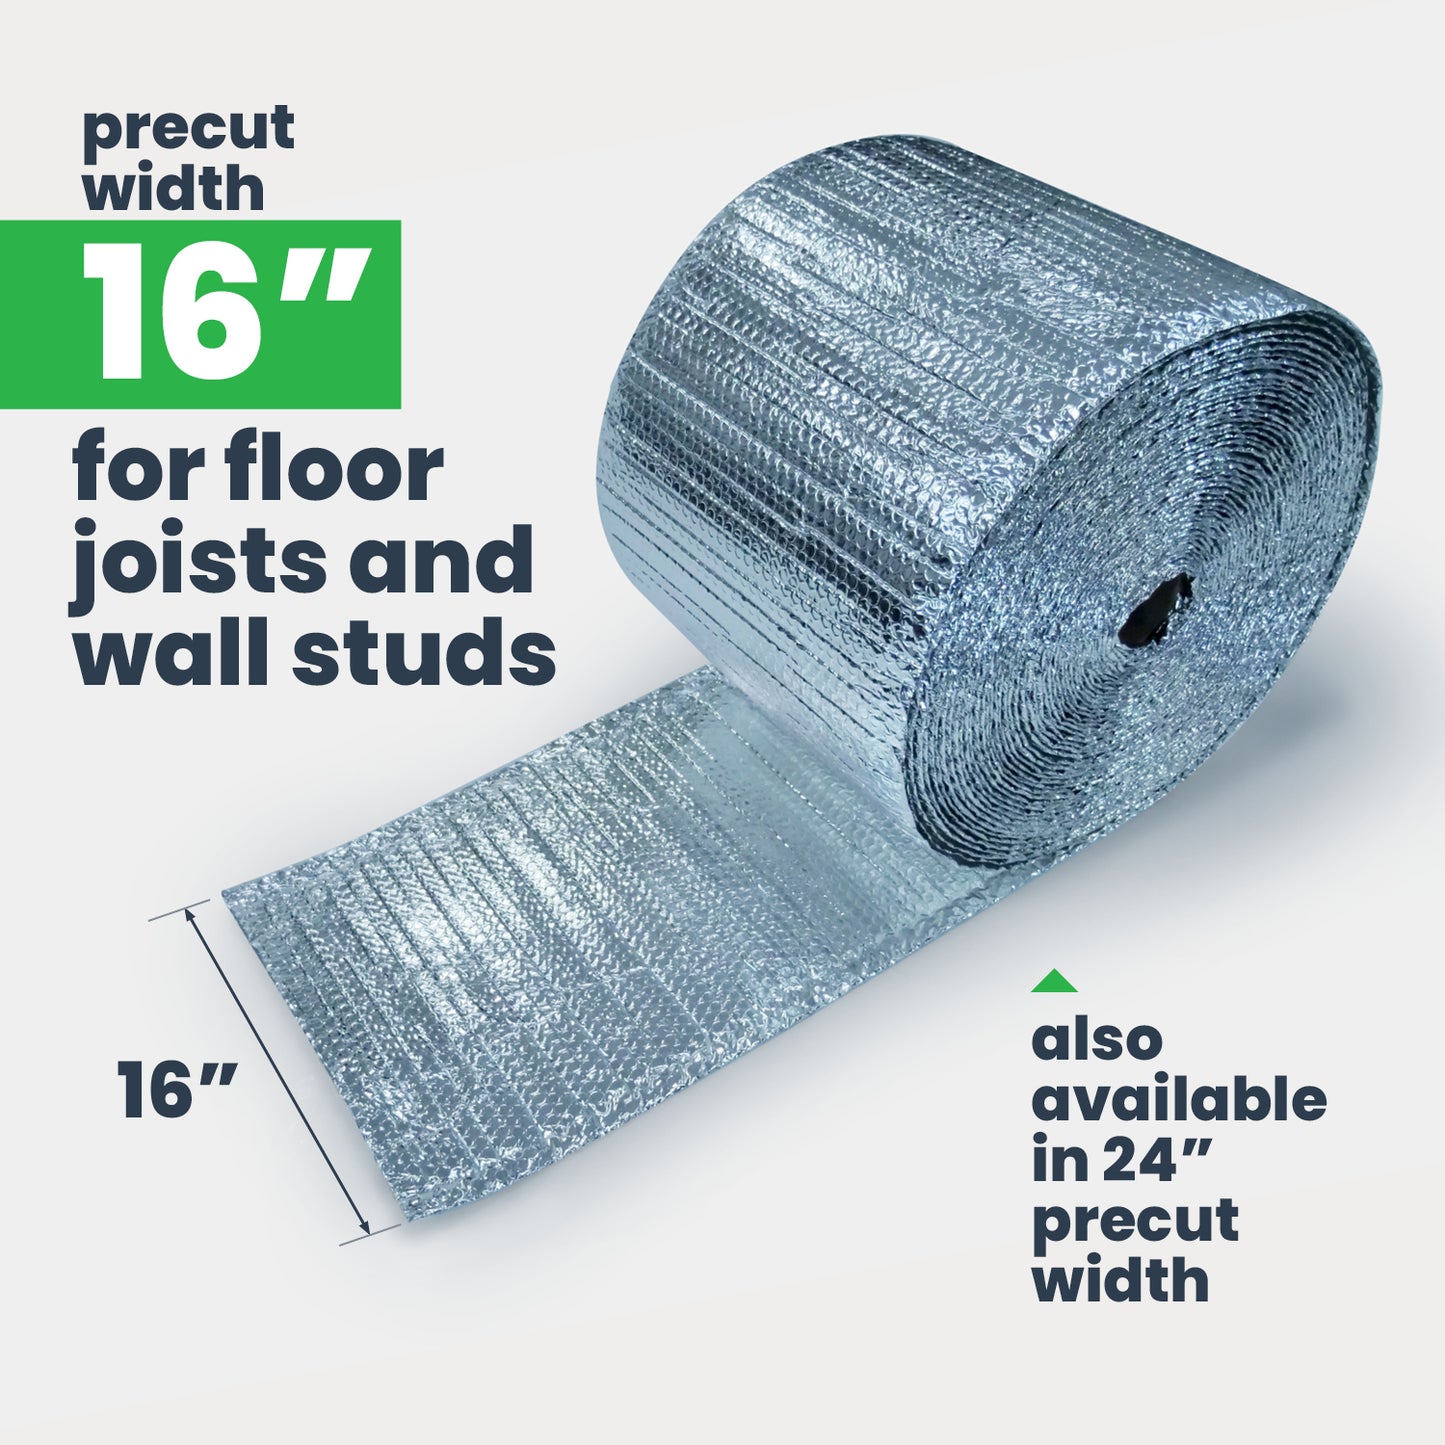
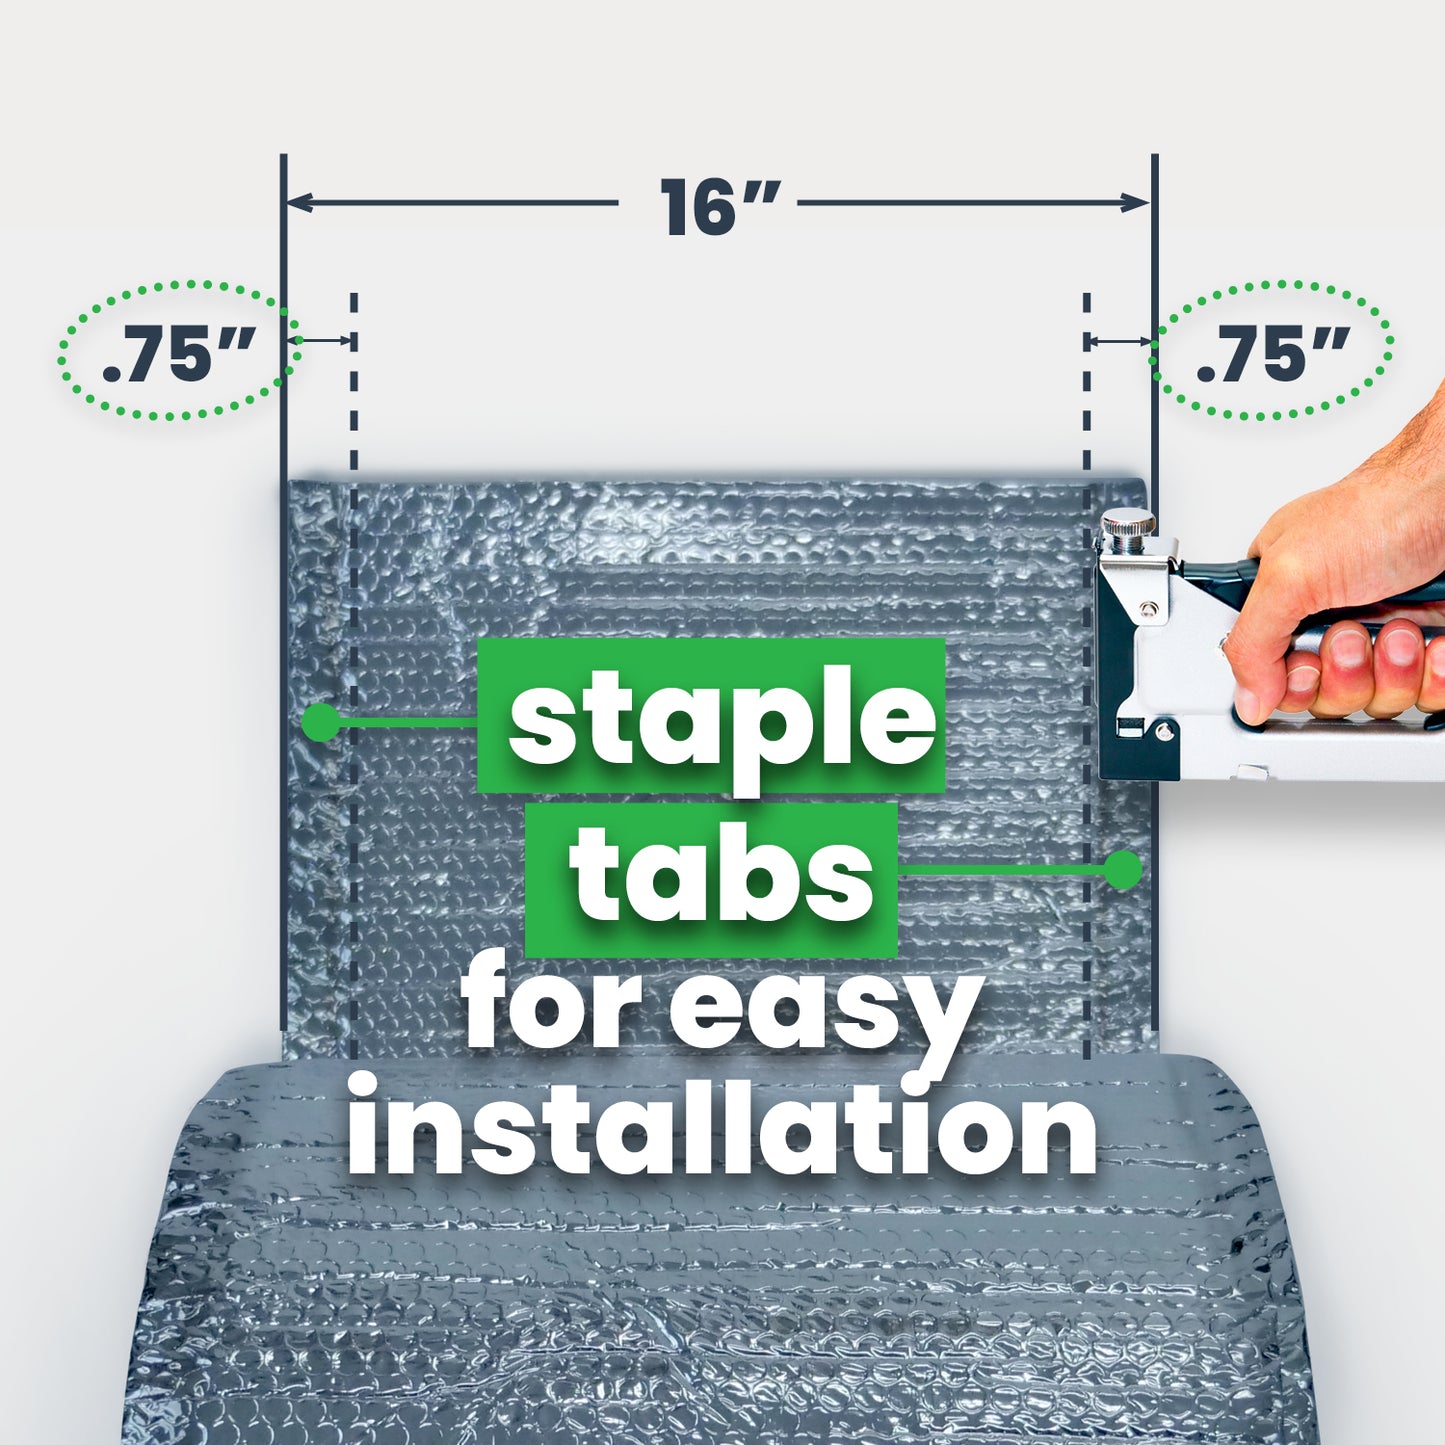
Between Joist: Use EcoFoil® Between Joist Insulation on your cathedral ceiling. We offer both 16" and 24" options with staple tabs for convenient installation between the rafters. When installing this product, push it back in between the ceiling joists and staple the tabs to the rafters.
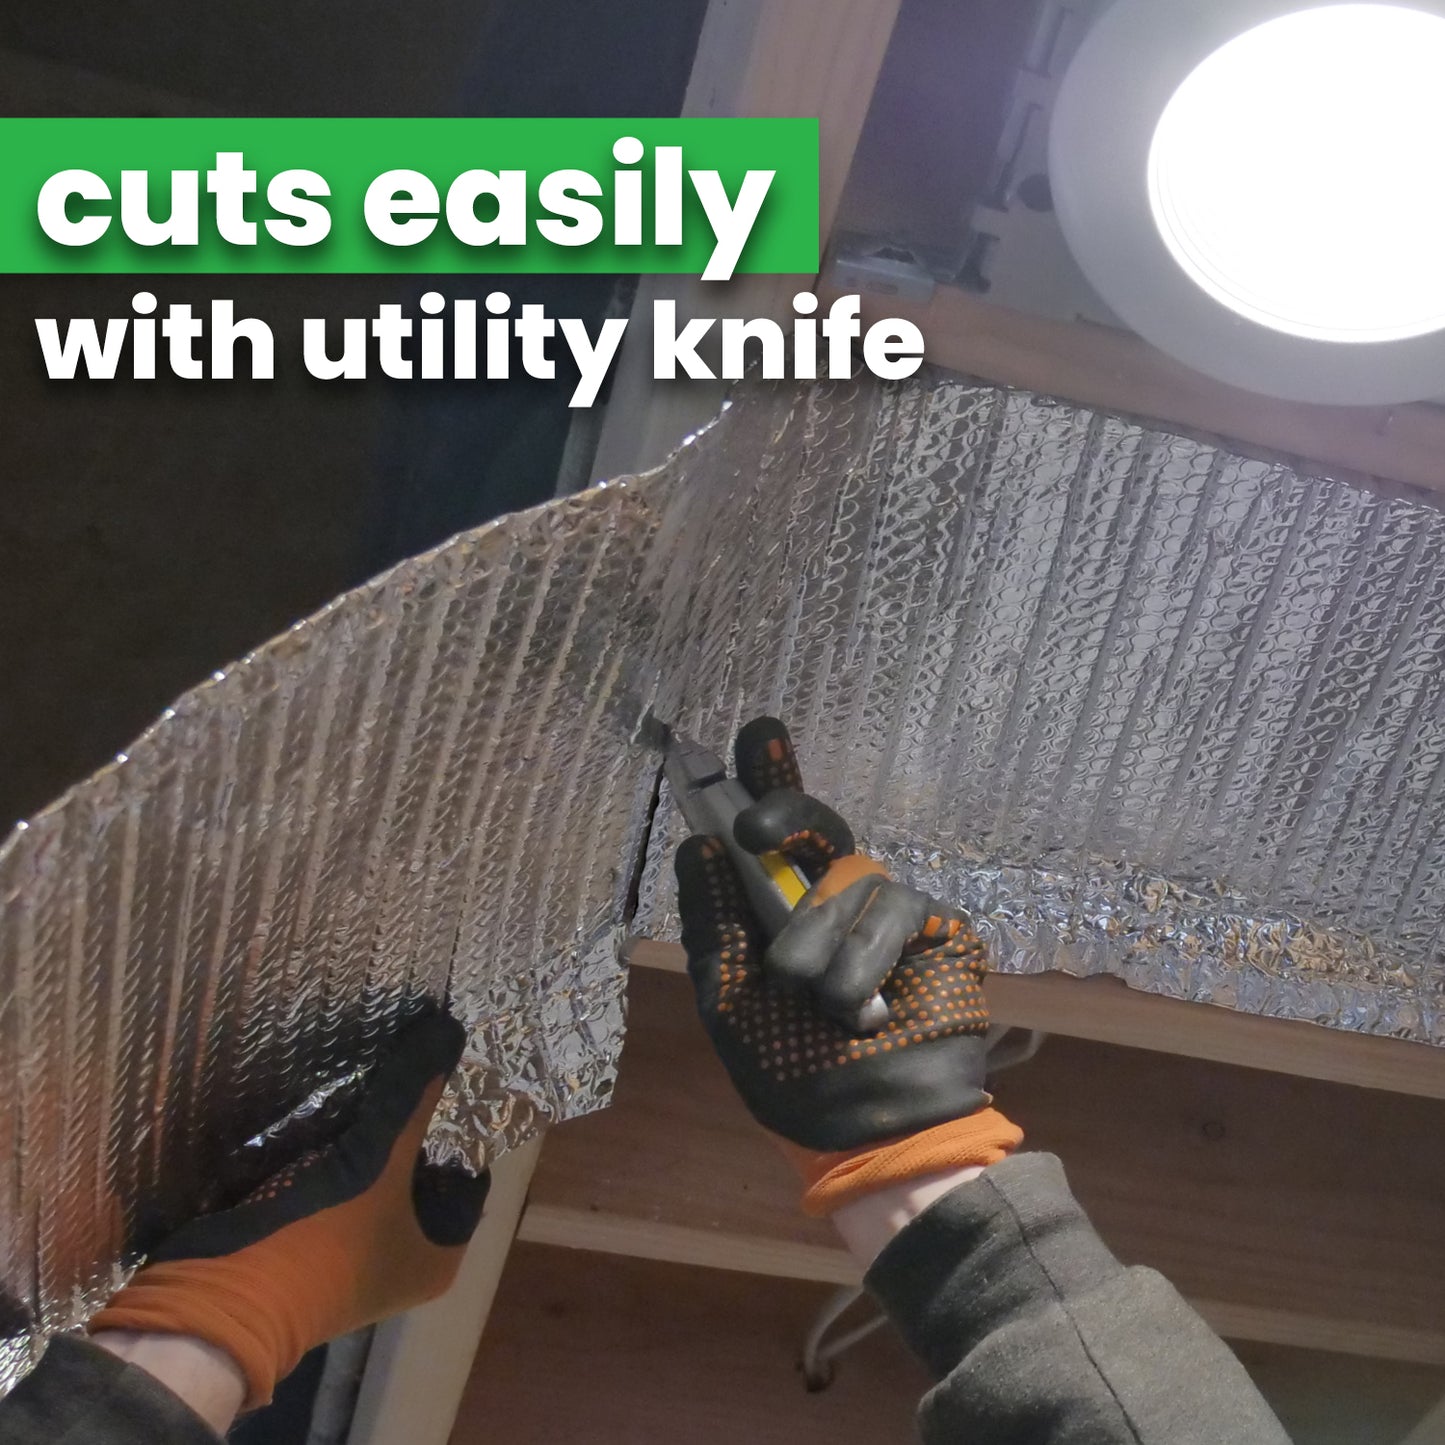
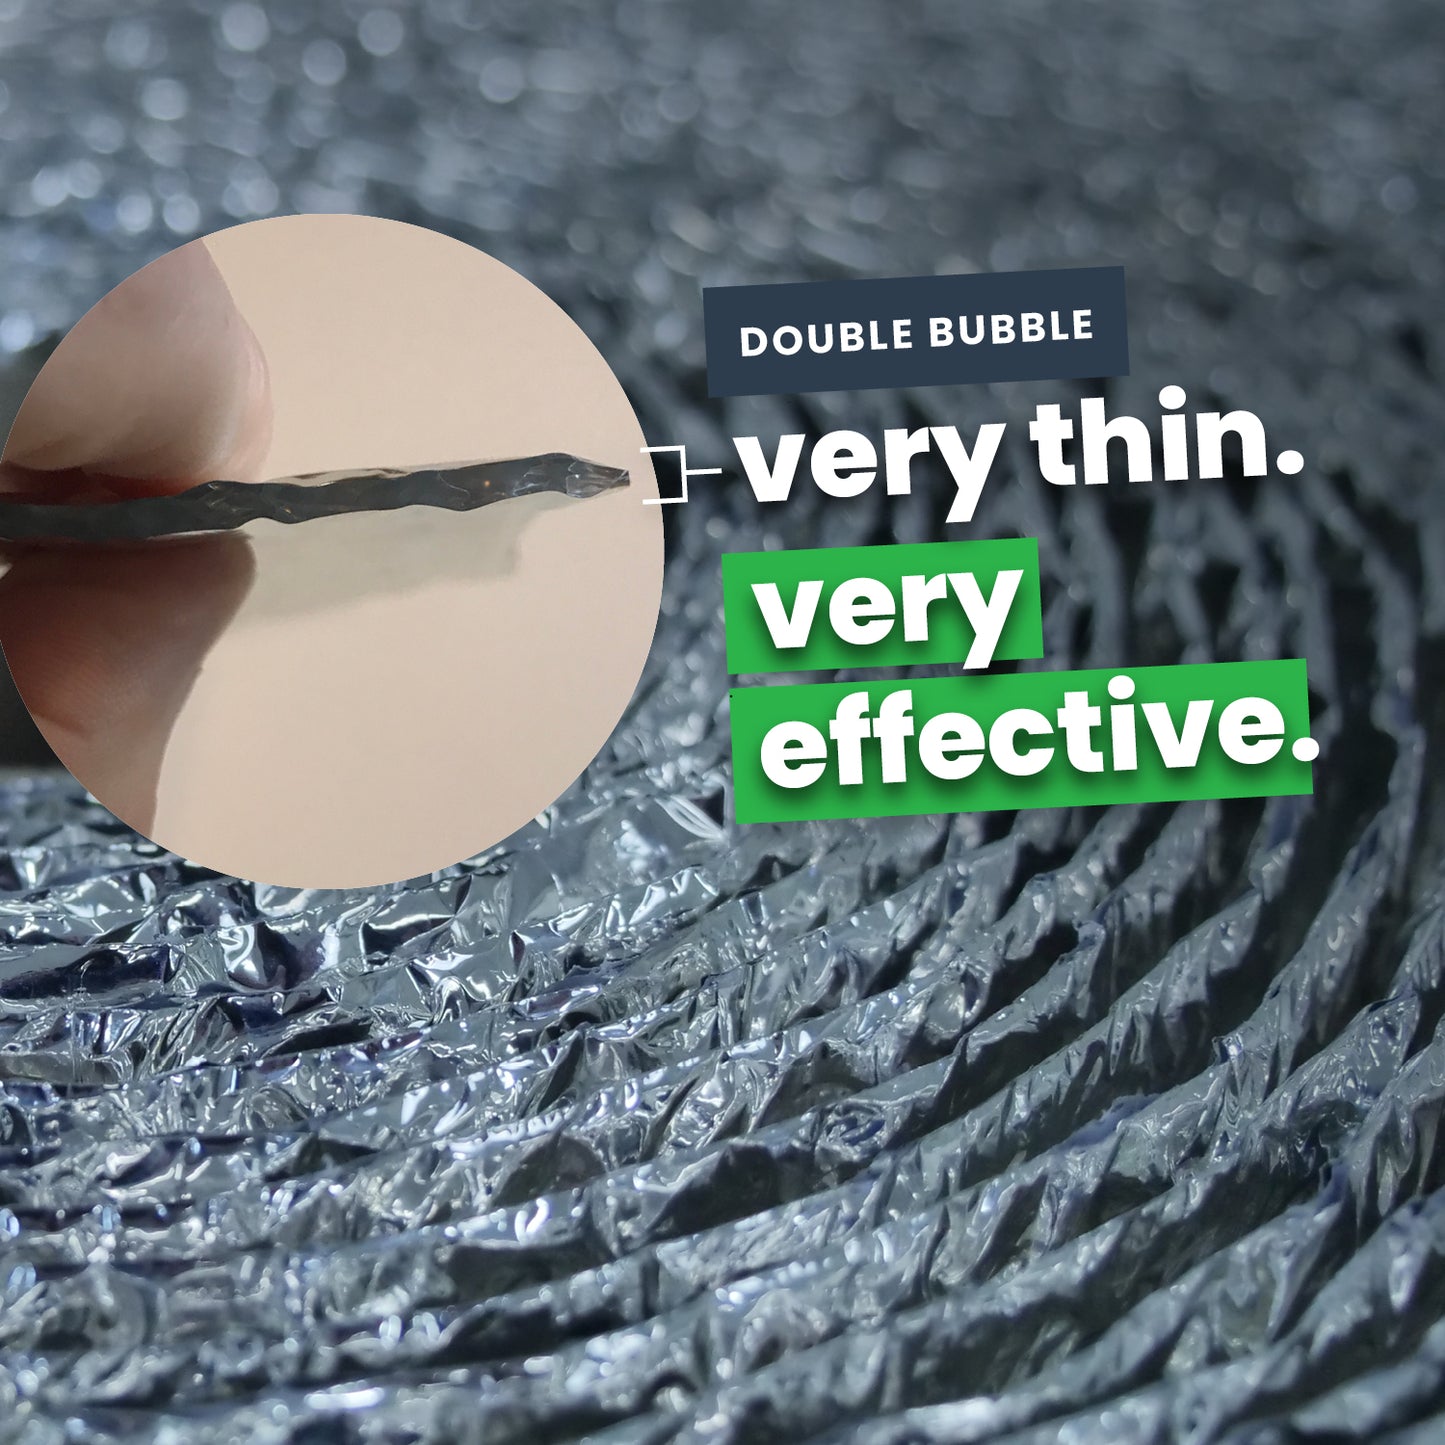
Under Joist: If you prefer this method, use our double bubble insulation product under the joists of your cathedral ceiling. Recess the bubble insulation 1” into the stud cavity and staple it into place. Doing this creates a 1” air space that is essential to the proper functioning of the reflective foil. Adding Ecofoil® also creates a 100% vapor barrier in addition to reflecting 97% of radiant heat back to its source.
-
Seal Up Insulation
After stapling the reflective insulation to the joists, make sure everything is sealed up to prevent any air from leaking through. Our insulation tape is used to create a 100% water vapor barrier with the reflective foil, as well as giving it a nice smooth finish.
-
Hang Drywall
Once you've installed the EcoFoil® product of your choice, you ready to hang up your drywall. If you haven't had any yet, you'll want some assistance for this part of the process.
Check our our page on cathedral ceiling insulation where we offer additional resources and pro-tips on what you'll need for this kind of project.
More Articles You May Like:
Can Bubble Insulation Work in My Attic?
Installing Radiant Barrier Under Metal Roof (3 Easy Steps)
LEED & Green Building: What Do They Mean?
For more information on how to insulate a cathedral ceiling with reflective insulation, give us a call 1-888-349-3645 or email us.